Configuration — Shopify
All EasyReturn settings live in your Shopify admin under Apps → Withdrawal Button - EasyReturn. The panel is split into six tabs: Store Info, Return Policy, Order Status, Email Confirmations, Store Display, and Info & Support.
Store Info
Configure the basic store data that is shown to customers in the withdrawal form and confirmation. This information is also used as the return address.
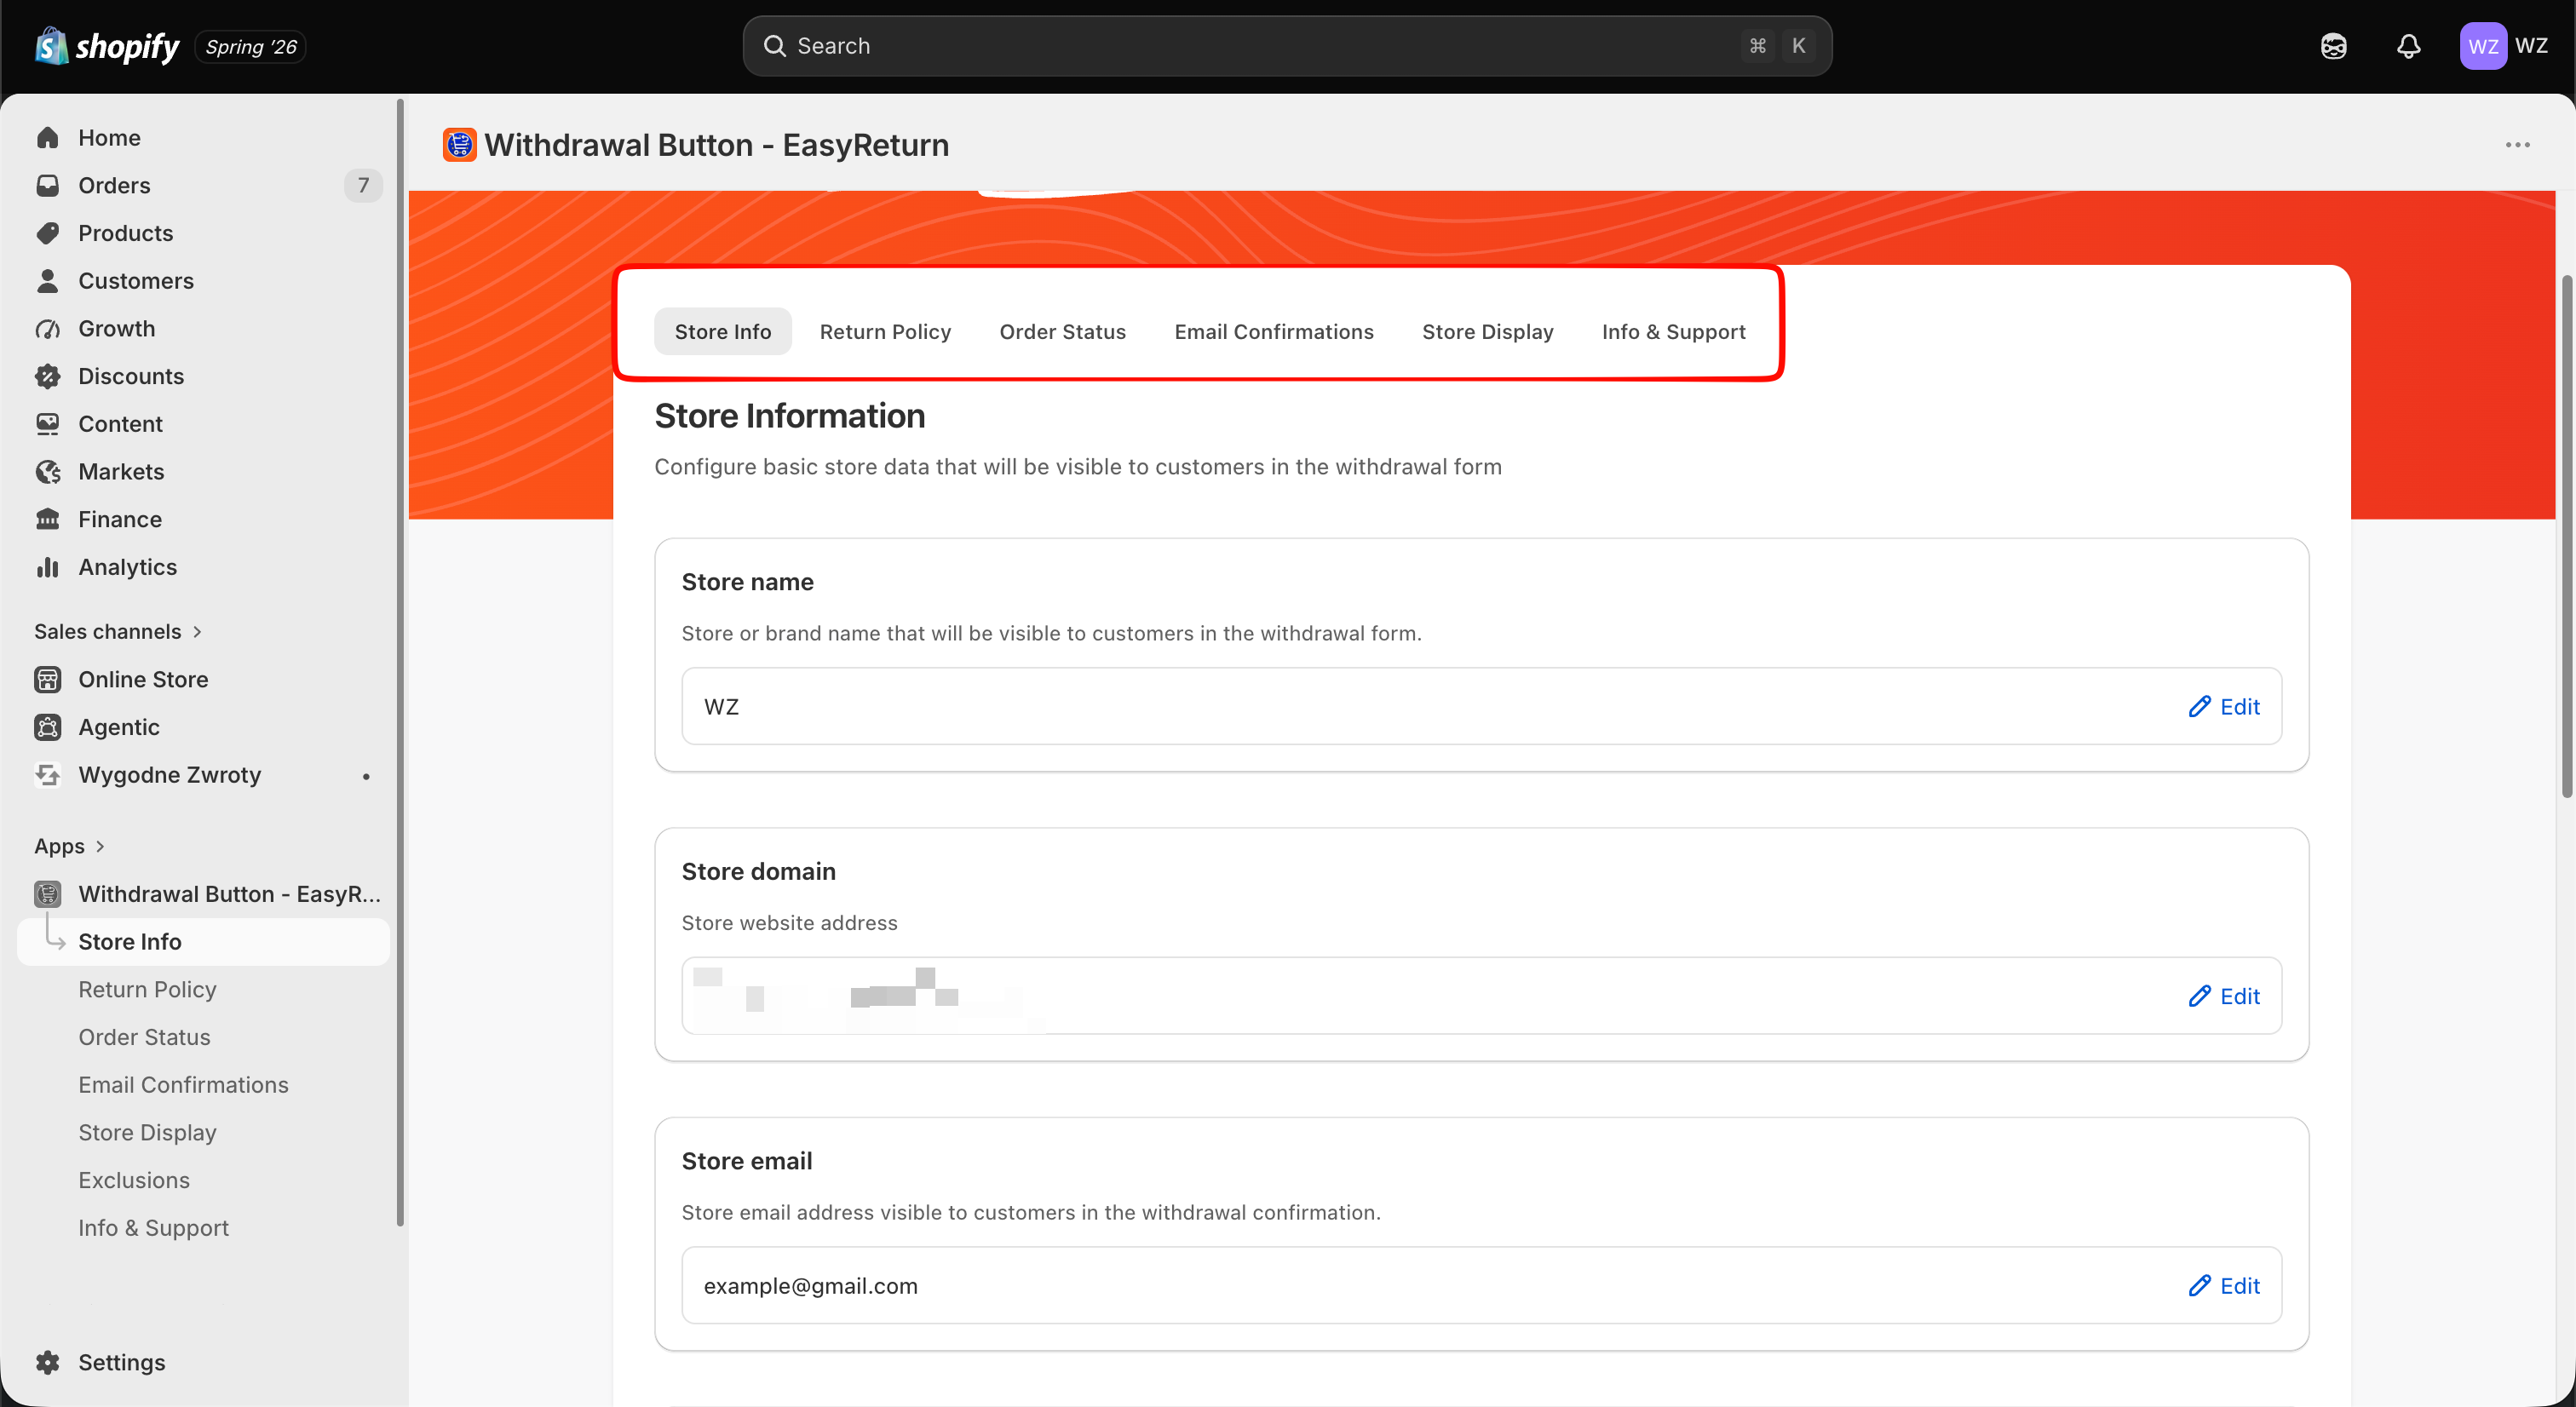
Store name
Your store or brand name. It is visible to customers in the withdrawal form.
Store domain
Your store's website address.
Store email
The store email address shown to customers in the withdrawal confirmation.
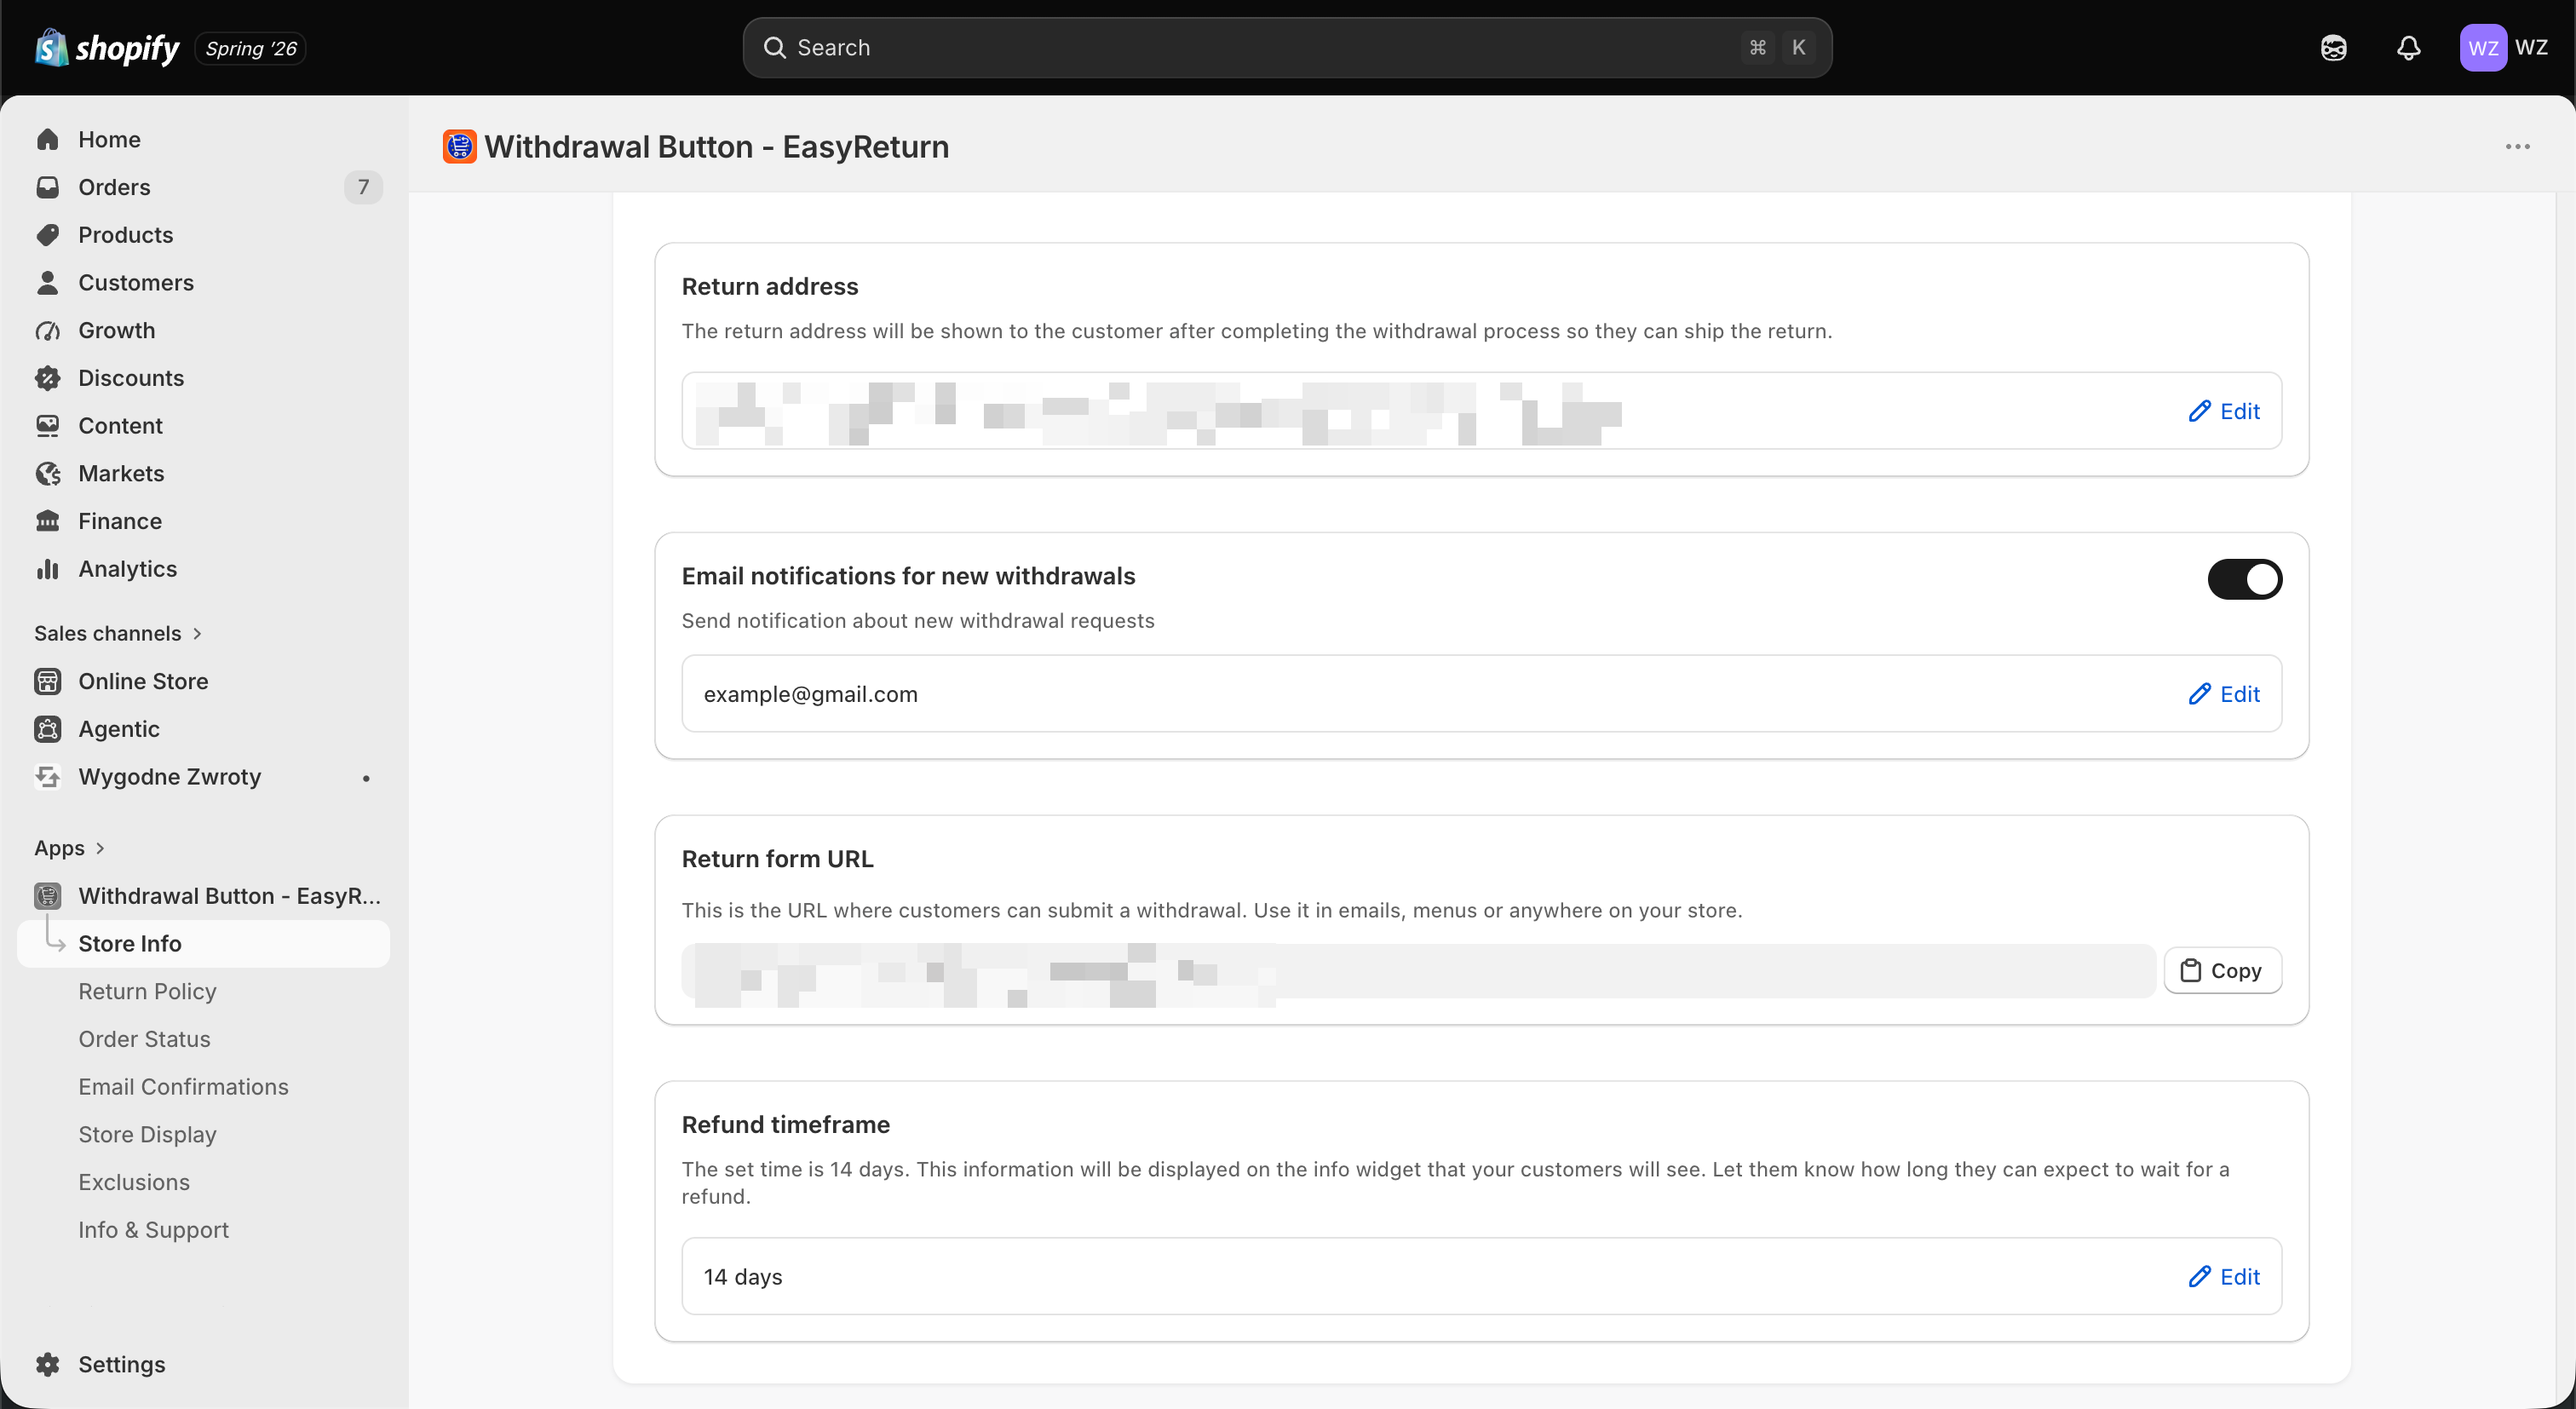
Return address
Shown to the customer after they complete the withdrawal process so they know where to ship the returned products.
Email notifications for new withdrawals
When enabled, a notification is sent to the specified address each time a customer submits a new withdrawal request.
Return form URL
The direct URL where customers submit a withdrawal. Use Copy to place it in emails, menus, or anywhere on your store.
Refund timeframe
The expected refund time, displayed on the info widget so customers know how long to wait. Defaults to 14 days.
Return Policy
Define the rules of the withdrawal process - the return window, eligible order statuses, available return reasons, and return methods.
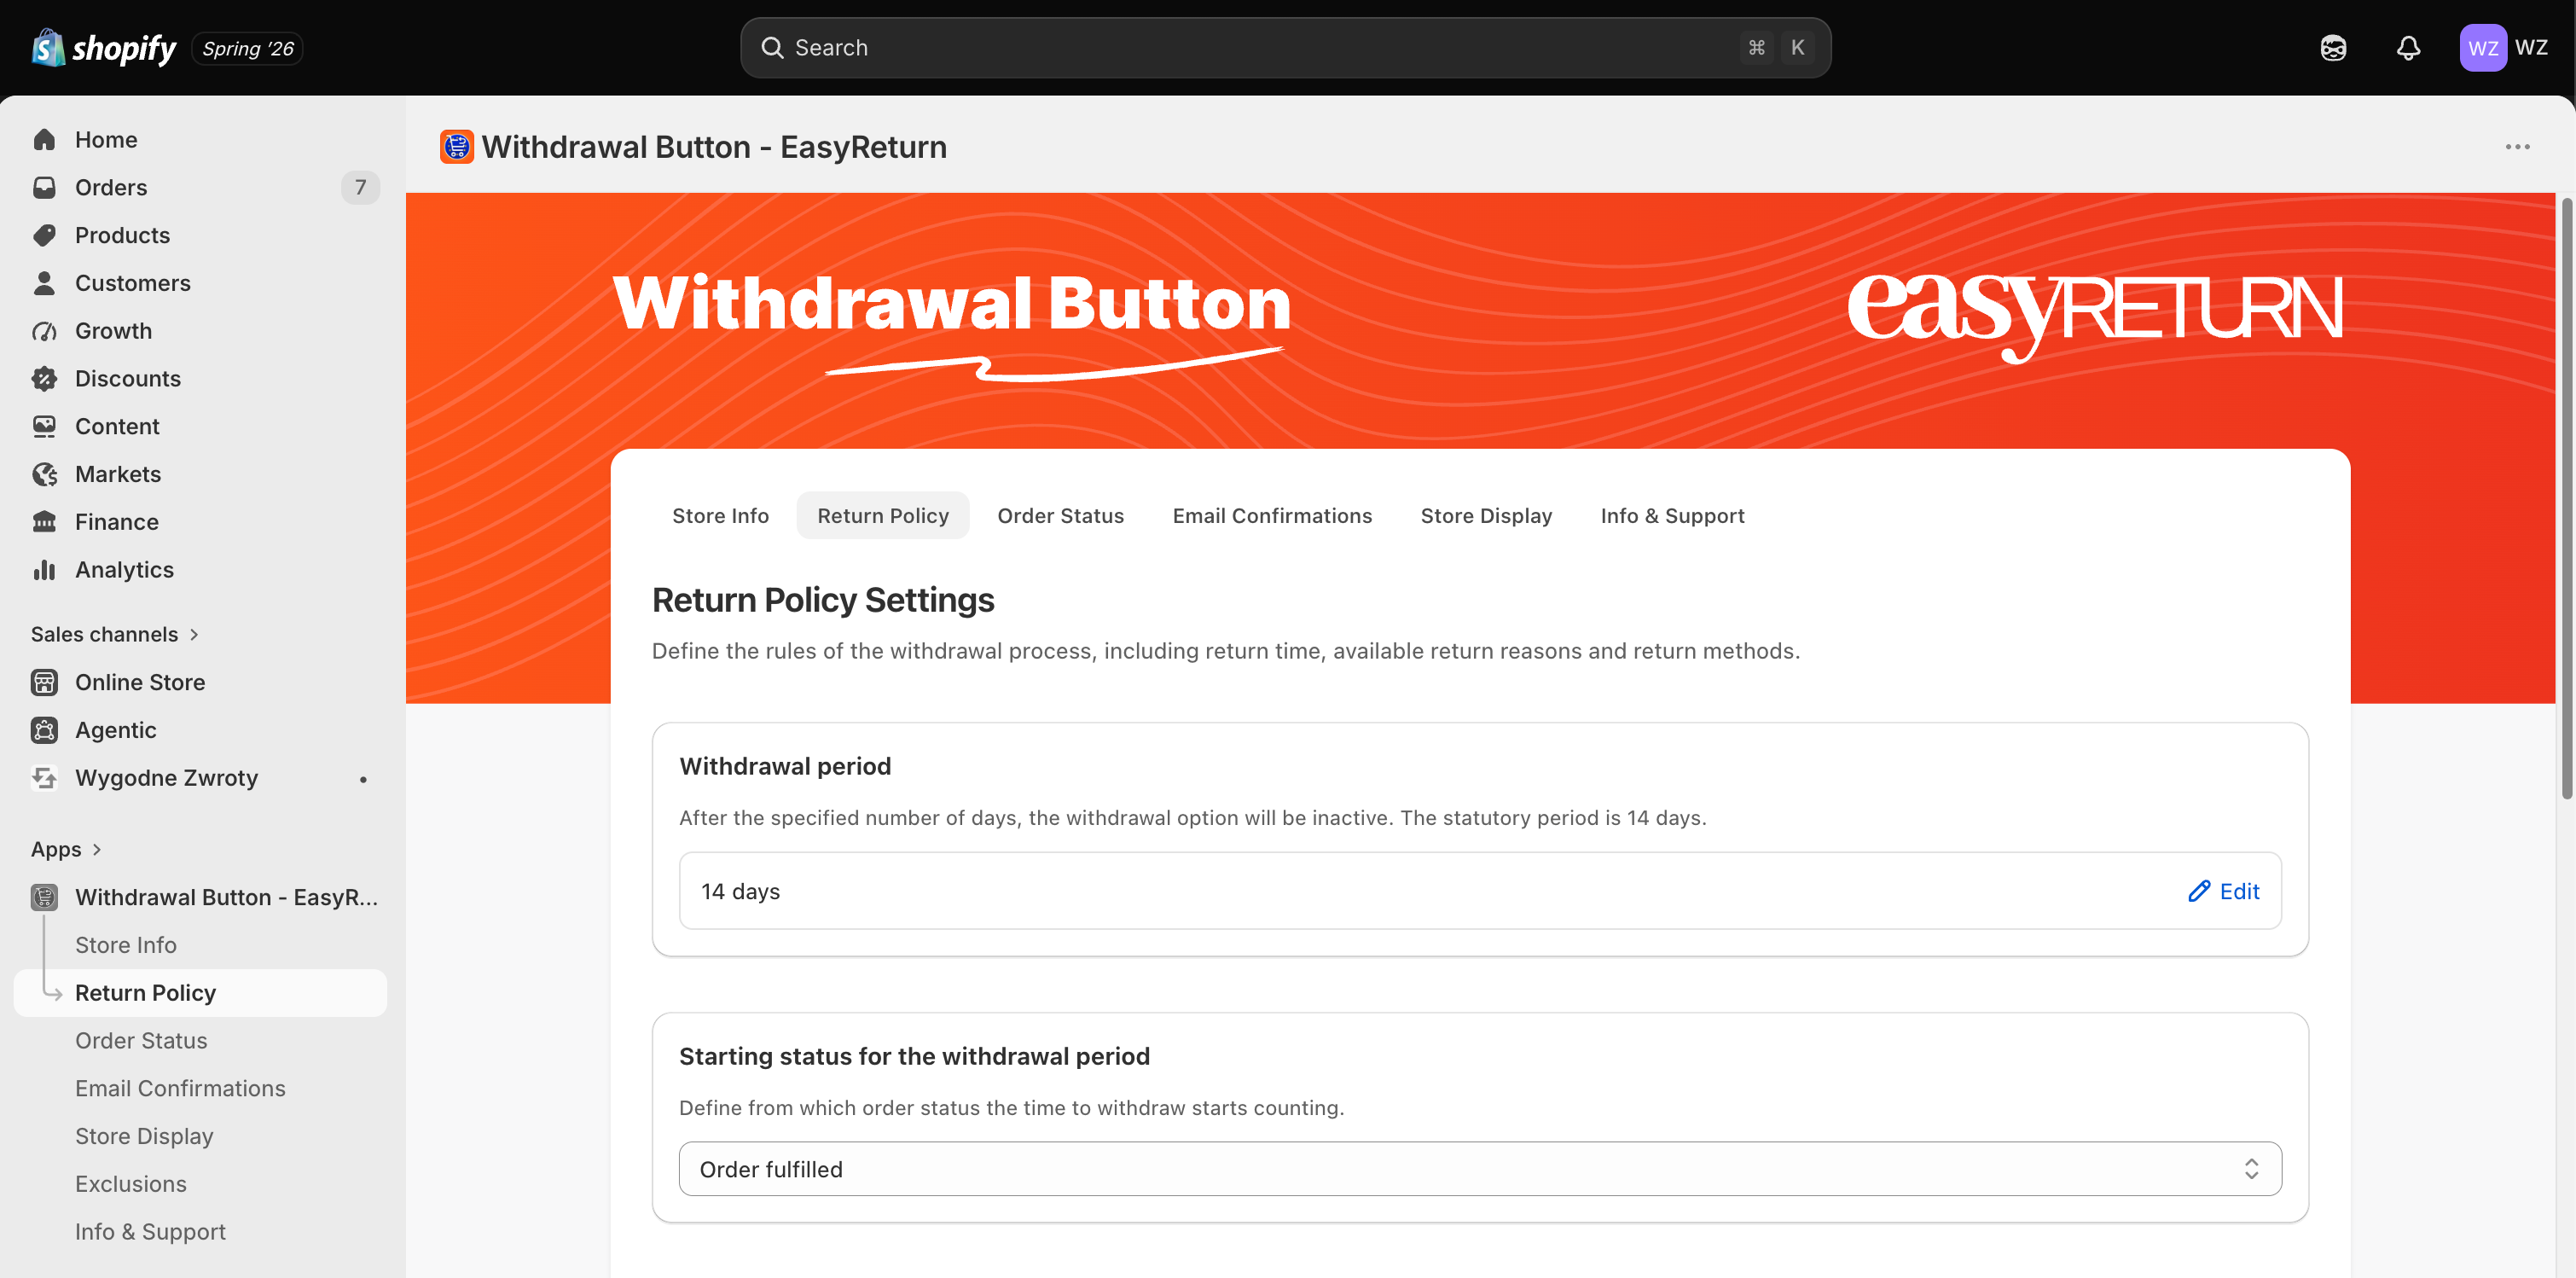
Withdrawal period
Number of days during which the withdrawal option stays active. After this period the button becomes inactive. Defaults to 14 days - the statutory period set by law.
Starting status for the withdrawal period
The order status from which the withdrawal period starts counting (e.g. Order fulfilled). Pick a status that reflects actual delivery so the statutory window is counted correctly.
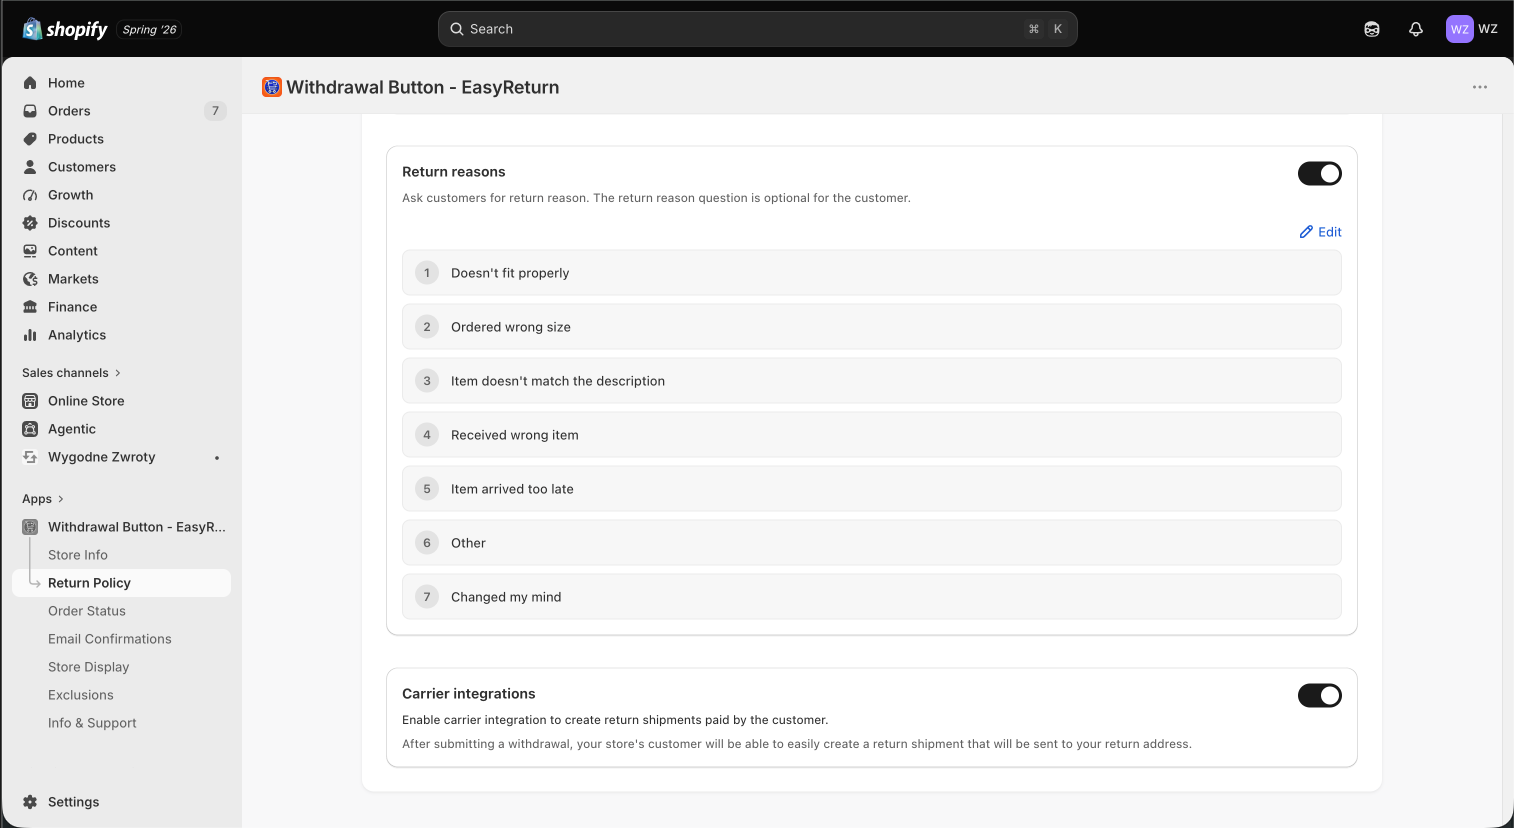
Return reasons
Adds a reason selection field to the return form. The field is optional for the customer. Use Edit to manage the list - one reason per row.
Carrier integrations
When enabled, customers can create a return shipment (paid by the customer) directly after submitting a withdrawal - sent to your return address. Available in selected countries and enabled automatically once launched for your region.
Order Status
Automatically tag orders after a customer submits a withdrawal, so return requests are easy to find and filter in Shopify.
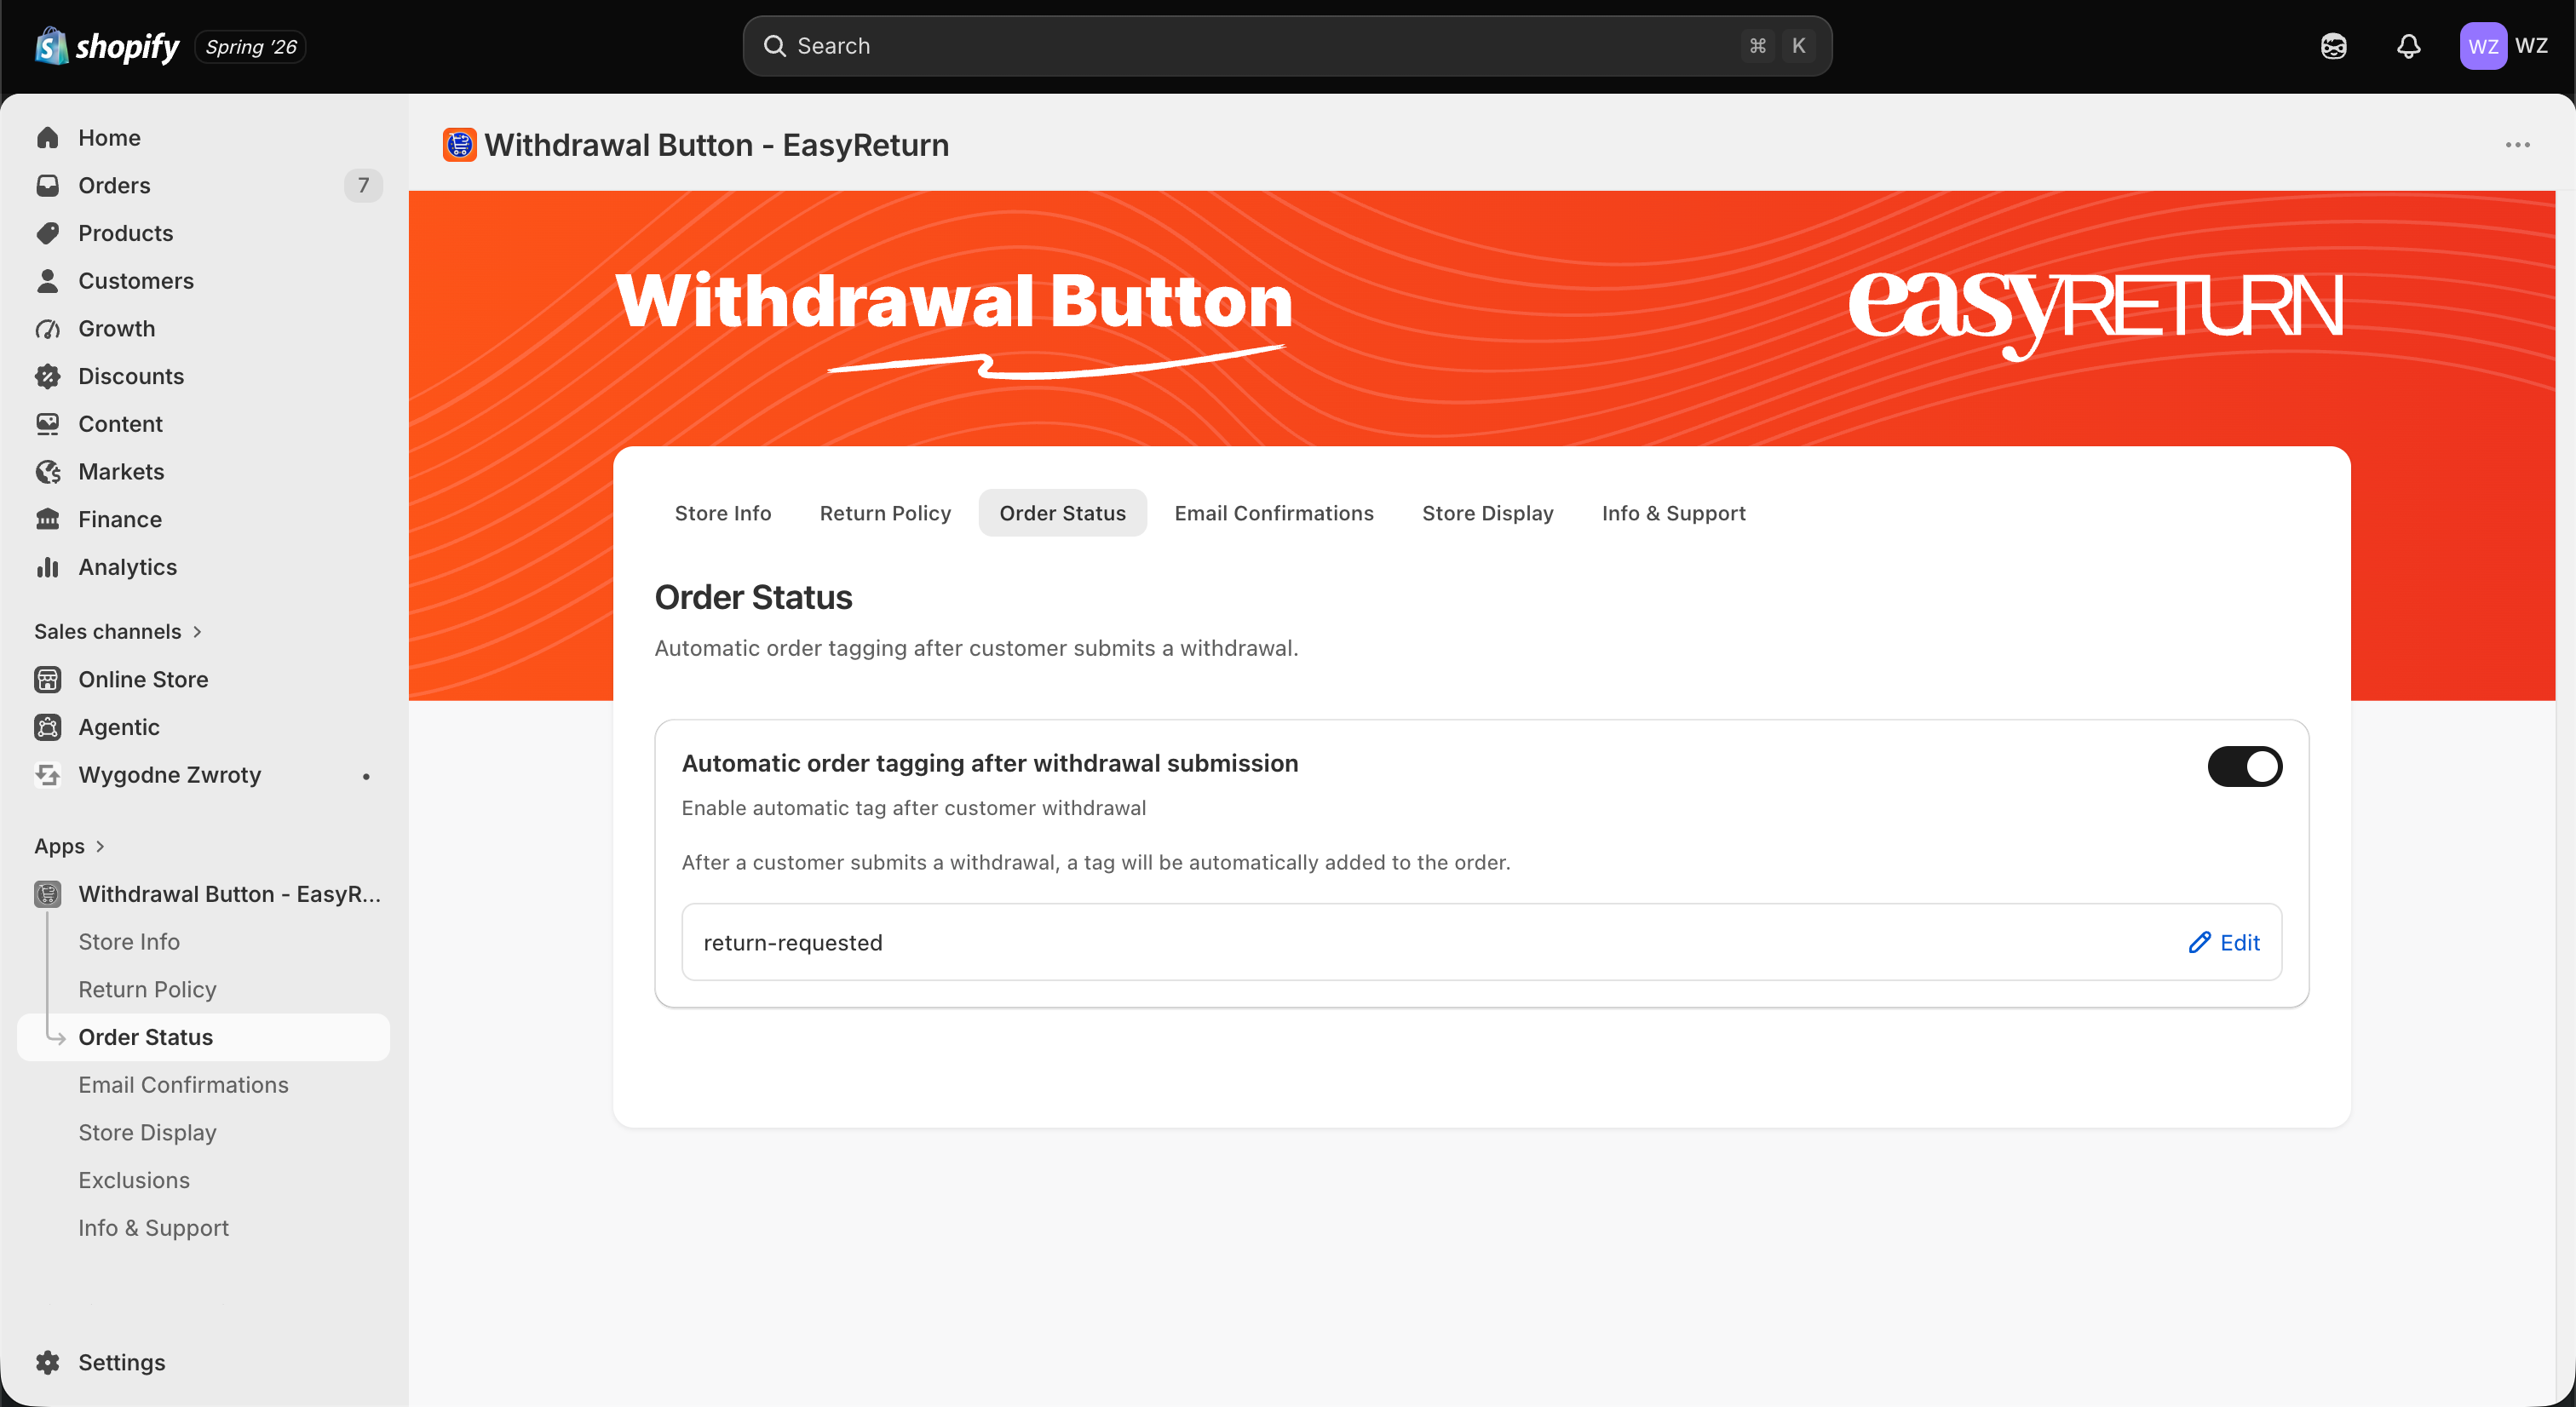
Automatic order tagging after withdrawal submission
When enabled, a tag (e.g. return-requested) is automatically added to the order as soon as a customer submits a withdrawal. You can use this tag to filter orders or trigger Shopify Flow automations.
Email Confirmations
Customize the confirmation email sent to customers after a withdrawal is submitted. The email is built from an HTML template with dynamic tags replaced with real data at send time.
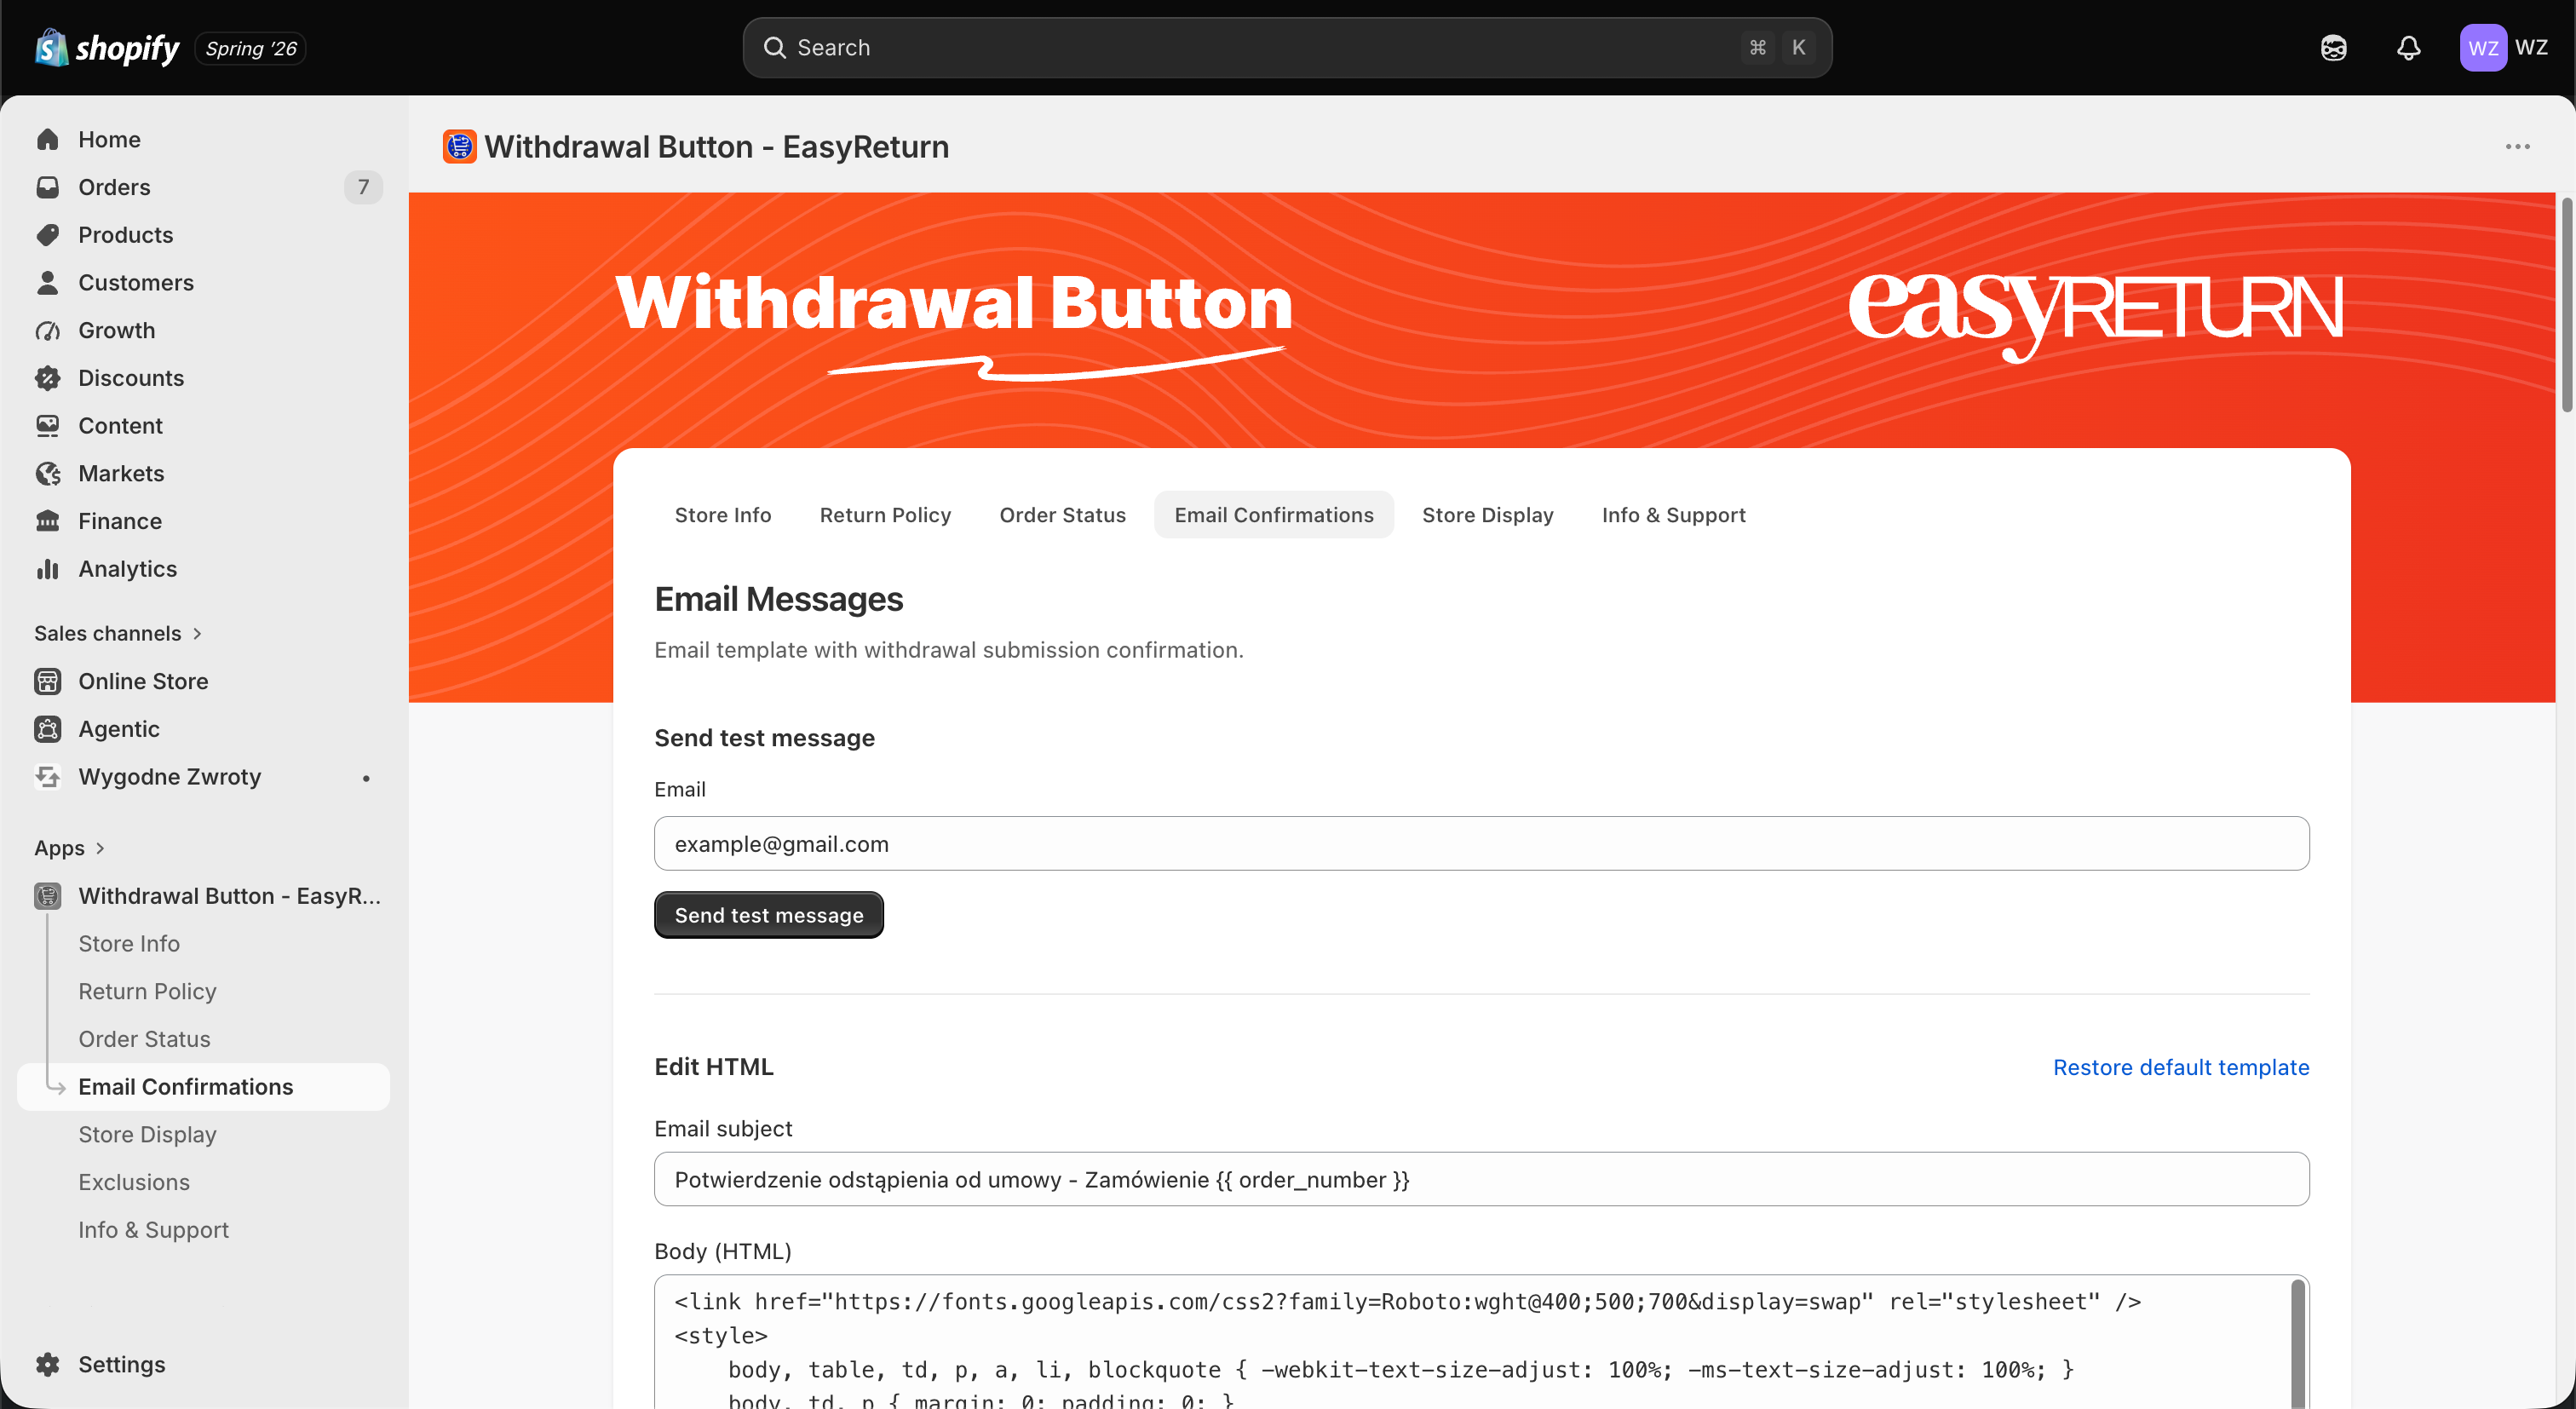
Send test message
Enter any email address and click Send test message to preview how the confirmation email looks before going live.
Email subject & HTML body
Edit the subject line and the full HTML of the confirmation email. Dynamic tags such
as {order_number} are replaced with real order data when the email is sent. Use Restore default template to revert to the original
email.
Store Display
Decide where customers will see the withdrawal button. Each placement is added through the Shopify theme editor and can be enabled independently.
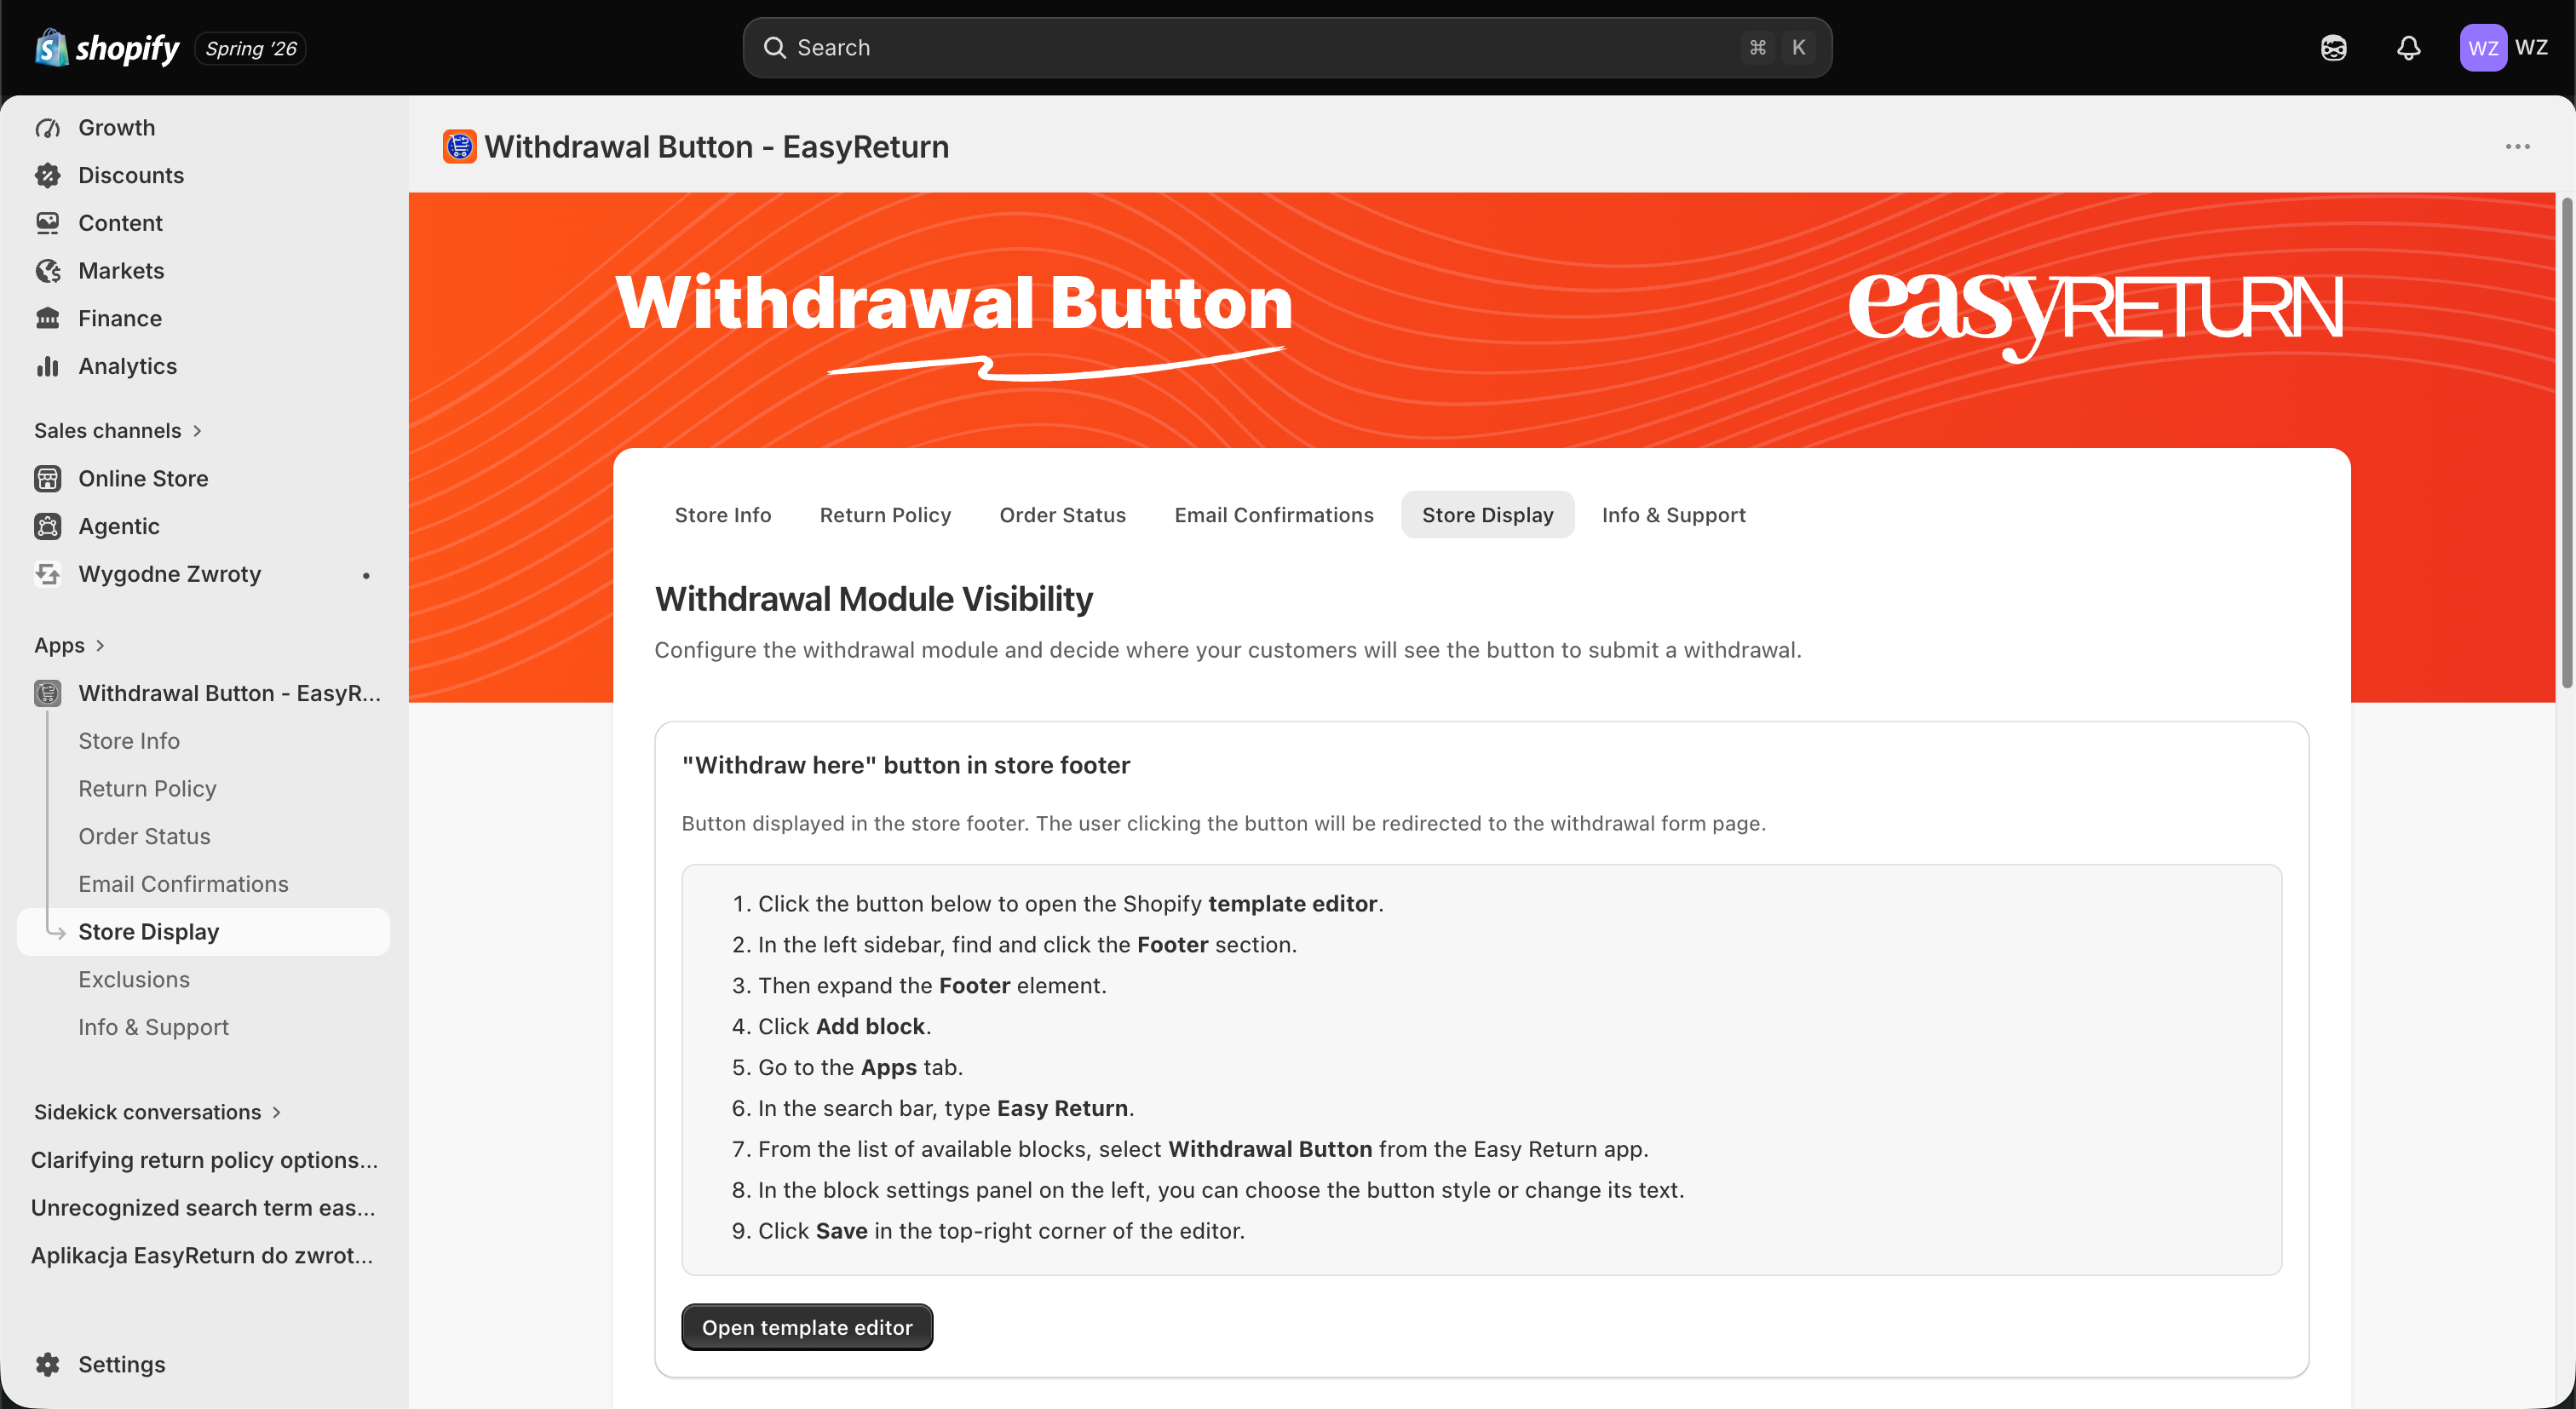
"Withdraw here" button in store footer
Click Open template editor, expand the Footer section, click Add block, open the Apps tab and add Withdrawal Button from the Easy Return app. The customer is redirected to the withdrawal form page when they click it.
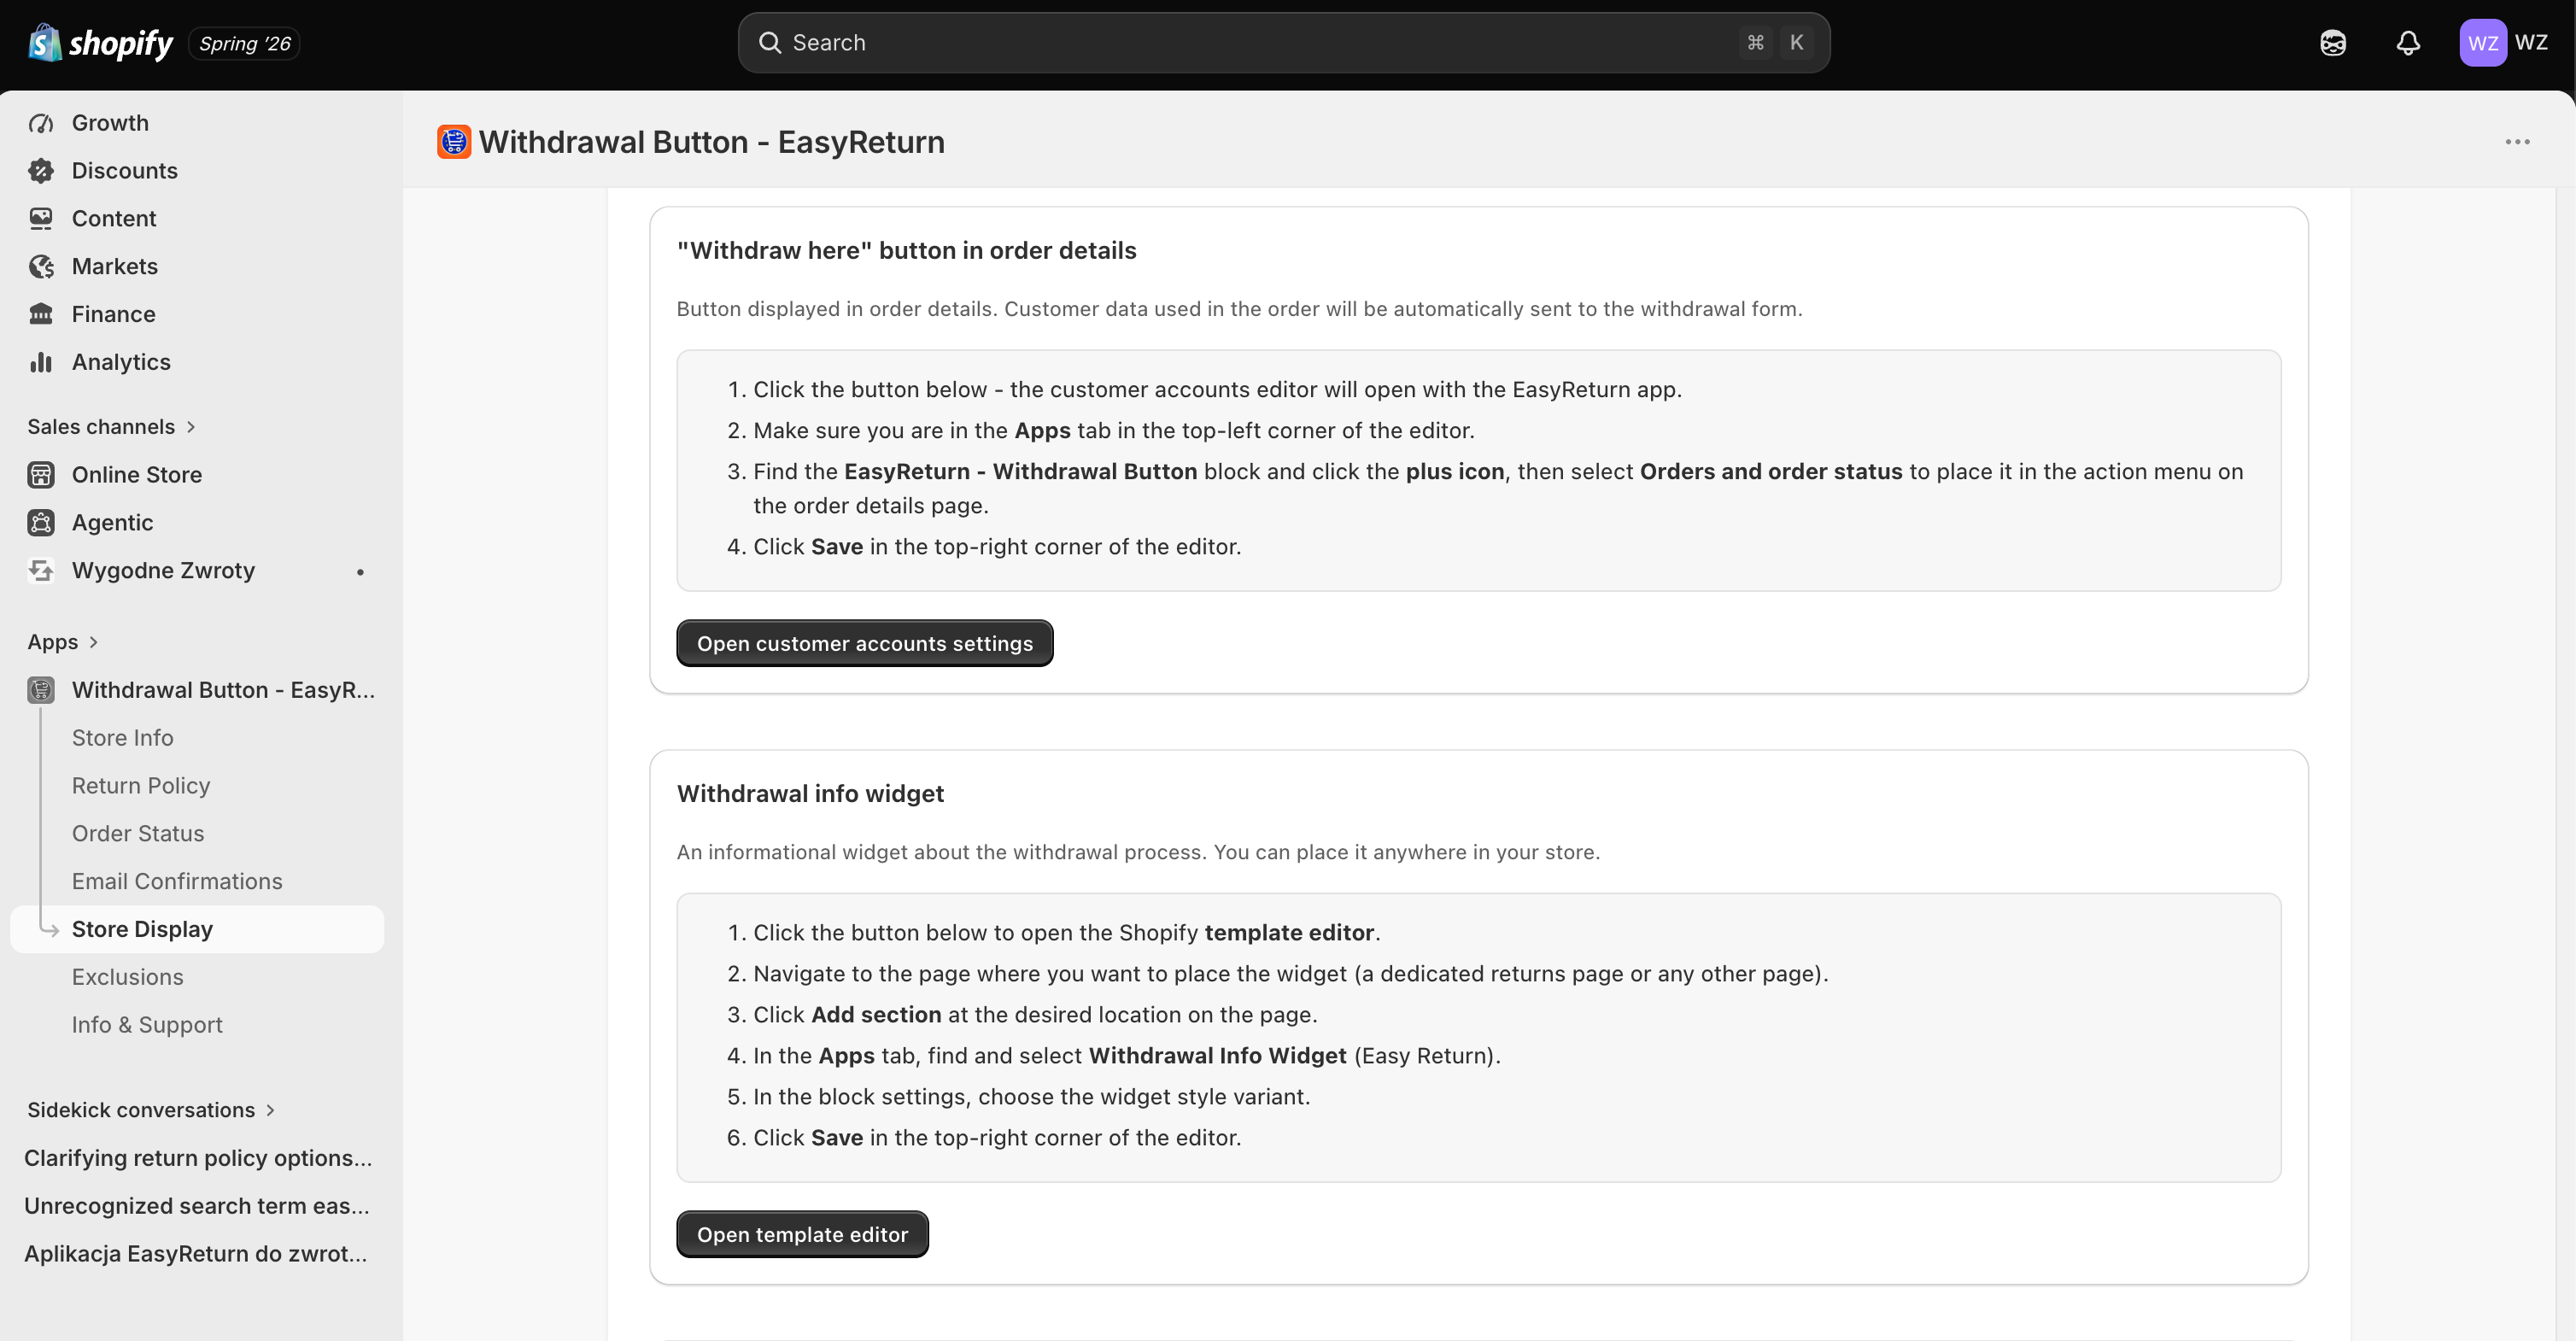
"Withdraw here" button in order details
Click Open customer accounts editor, add the Withdrawal Button block to the order details page and save. The customer's order data is passed automatically to the form.
Withdrawal info widget
Click Open template editor, use Add section on the desired page, pick the Easy Return widget, choose a style variant and save. Recommended on Returns, Terms & Conditions, and FAQ pages.
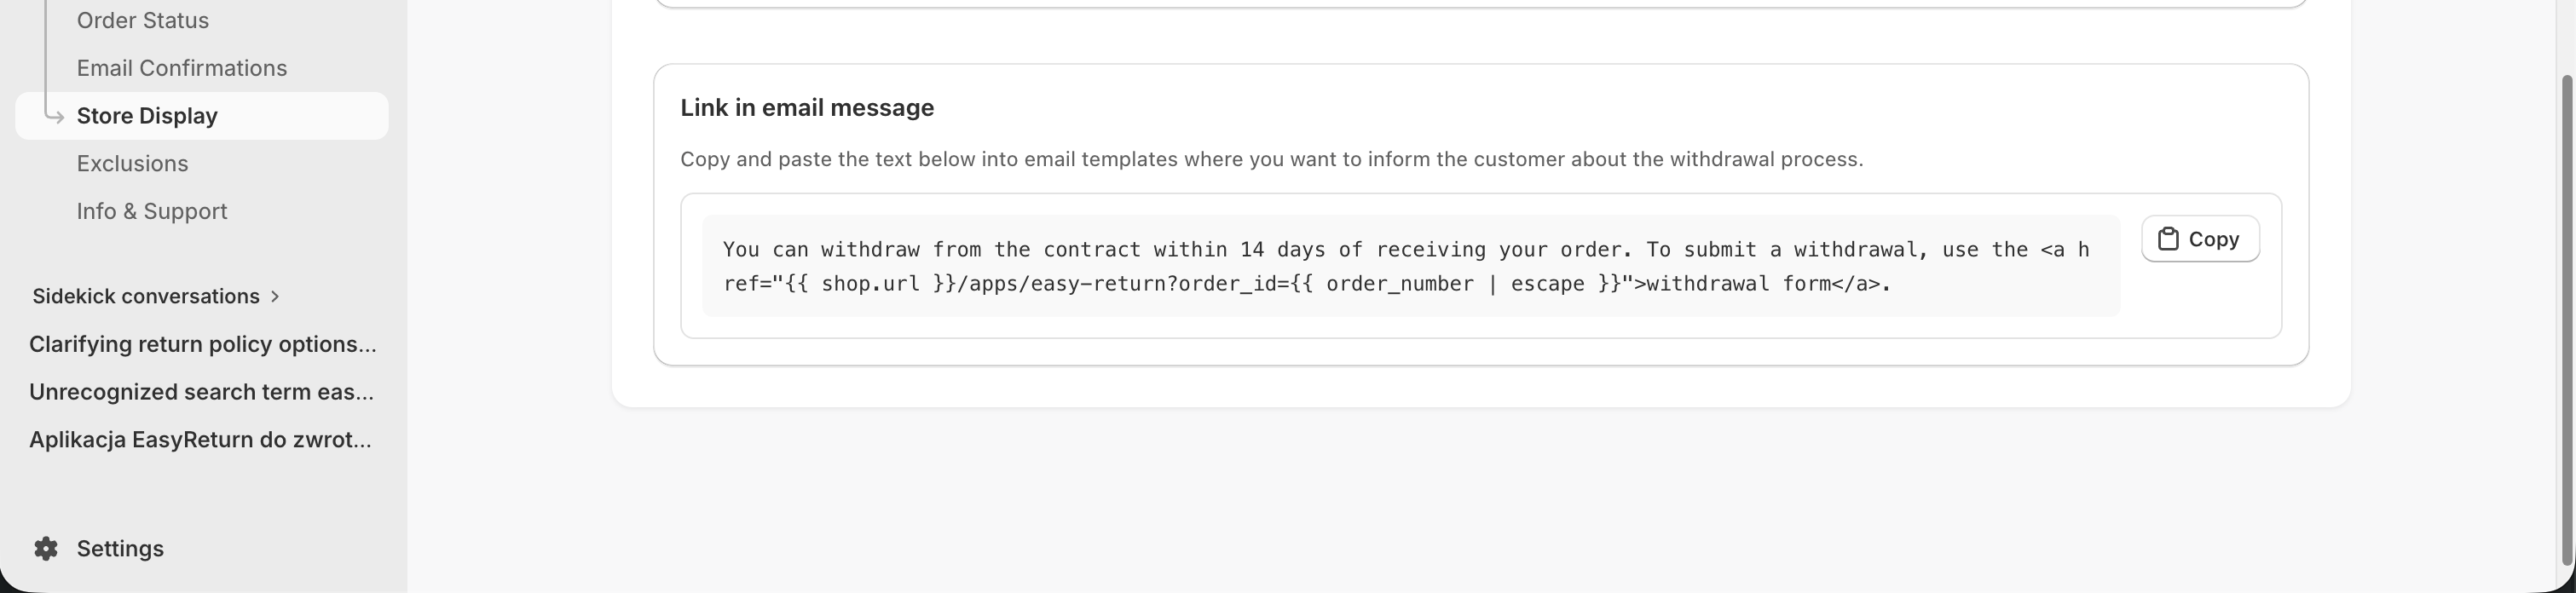
Link in email message
Copy the provided snippet and paste it into any Shopify email template where you want to inform the customer about the withdrawal process. The link points to the withdrawal form and is filled with the order number automatically.
Info & Support
The last tab contains app version information, license details, and links to support resources. No configuration is required here.