How it works — WooCommerce
A complete walkthrough of the return process - from the customer's first click to the admin managing the request. EasyReturn supports both logged-in customers and guests.
Customer flow
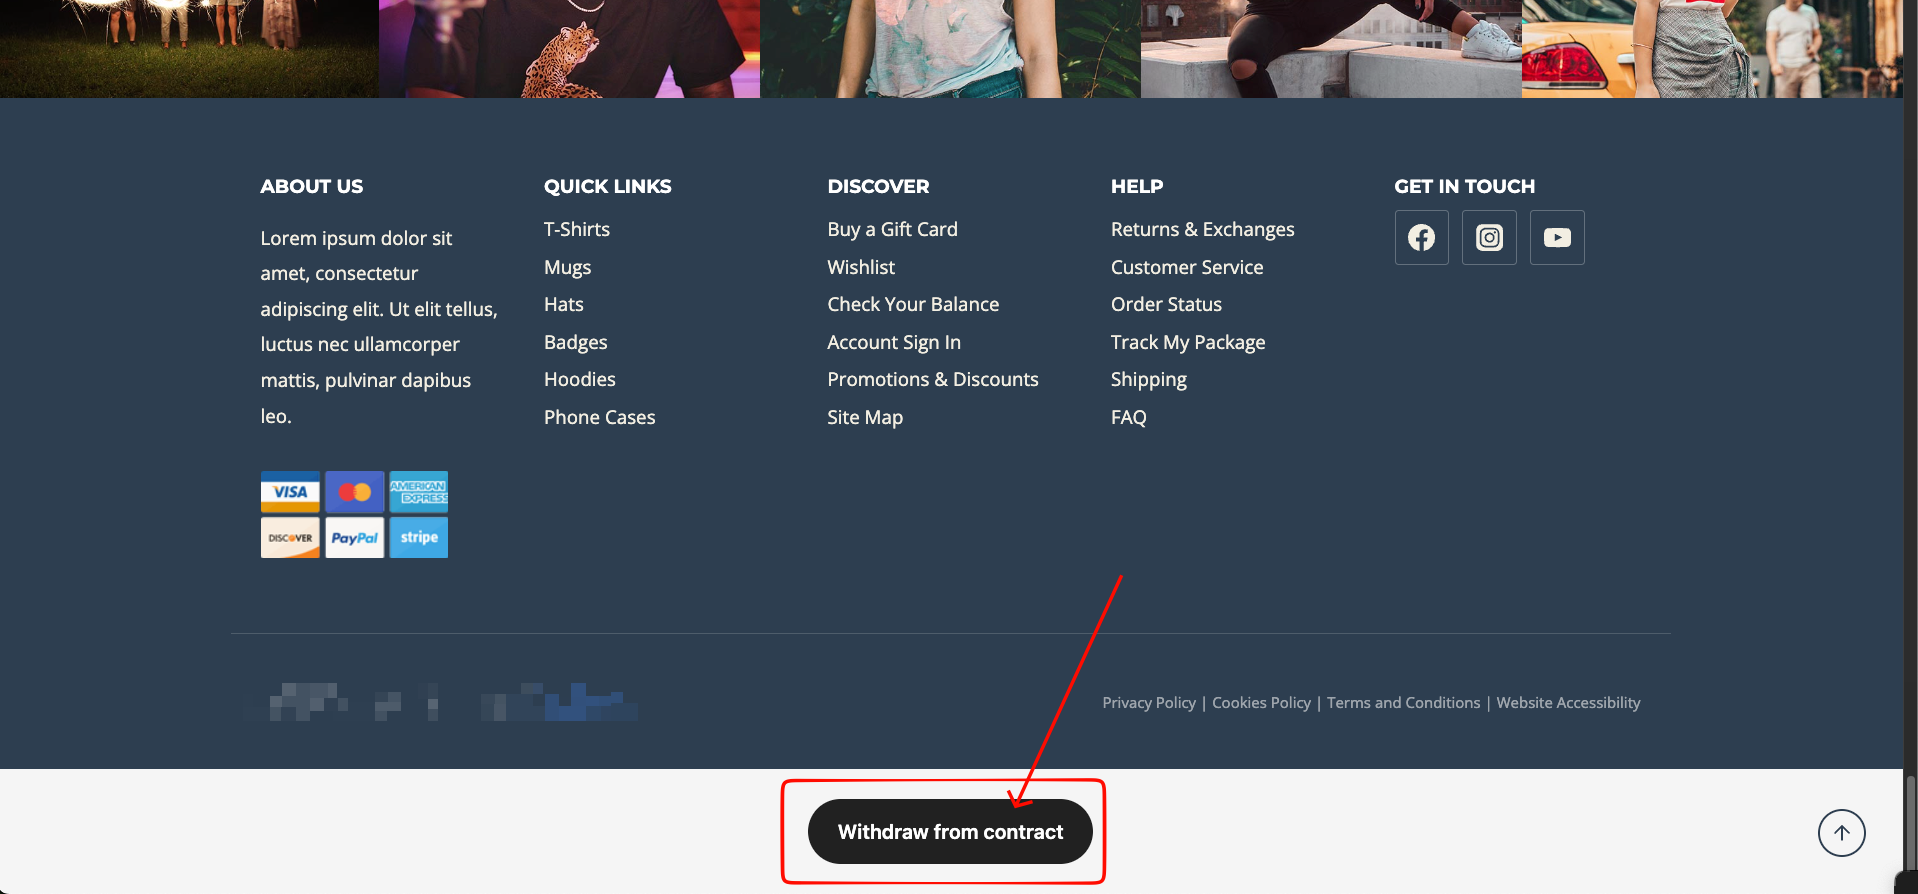
The Withdraw from contract button appears in the site footer on every page - available to all customers regardless of login status. Logged-in customers also have a shortcut directly on the order details page.
Logged-in customer
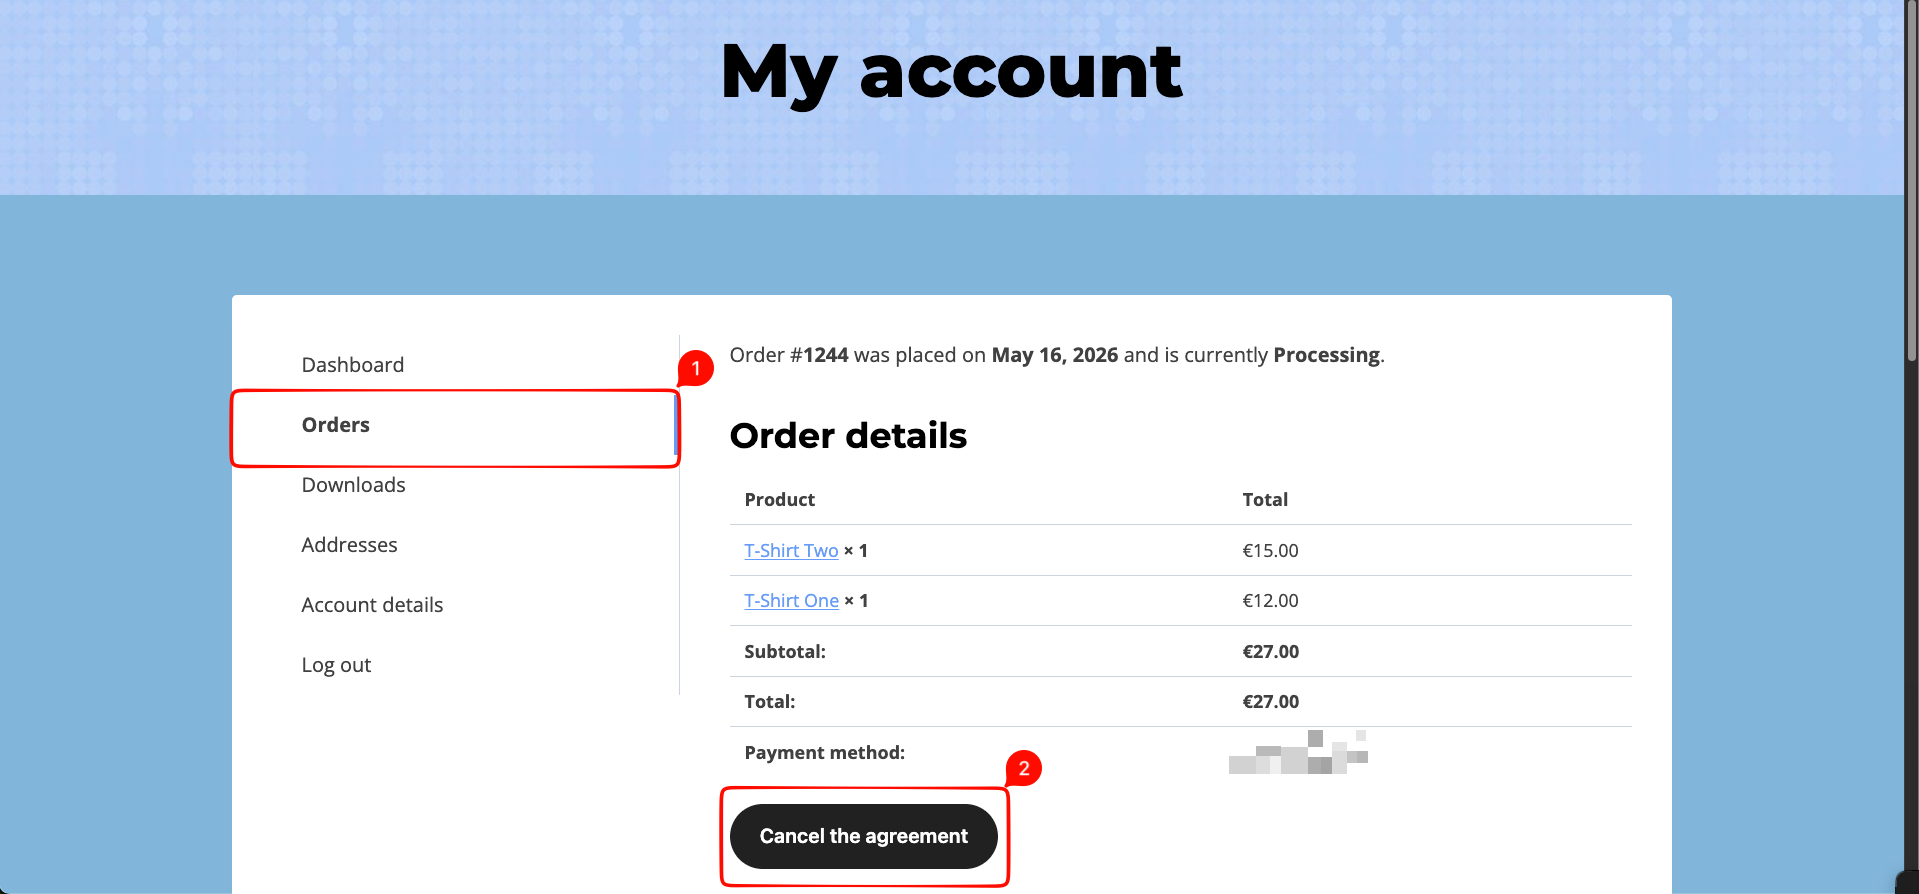
RegisteredOpen the form from the order details page
A 'Cancel the agreement' button appears directly on eligible orders in My Account - Orders. Clicking it pre-fills the form with that specific order's data - no order lookup required.
Select products and submit
The customer selects the products to return, sets the quantity, optionally picks a return reason, and enters their bank account number for the refund if required. A confirmation email is sent automatically on submission.
Guest customer
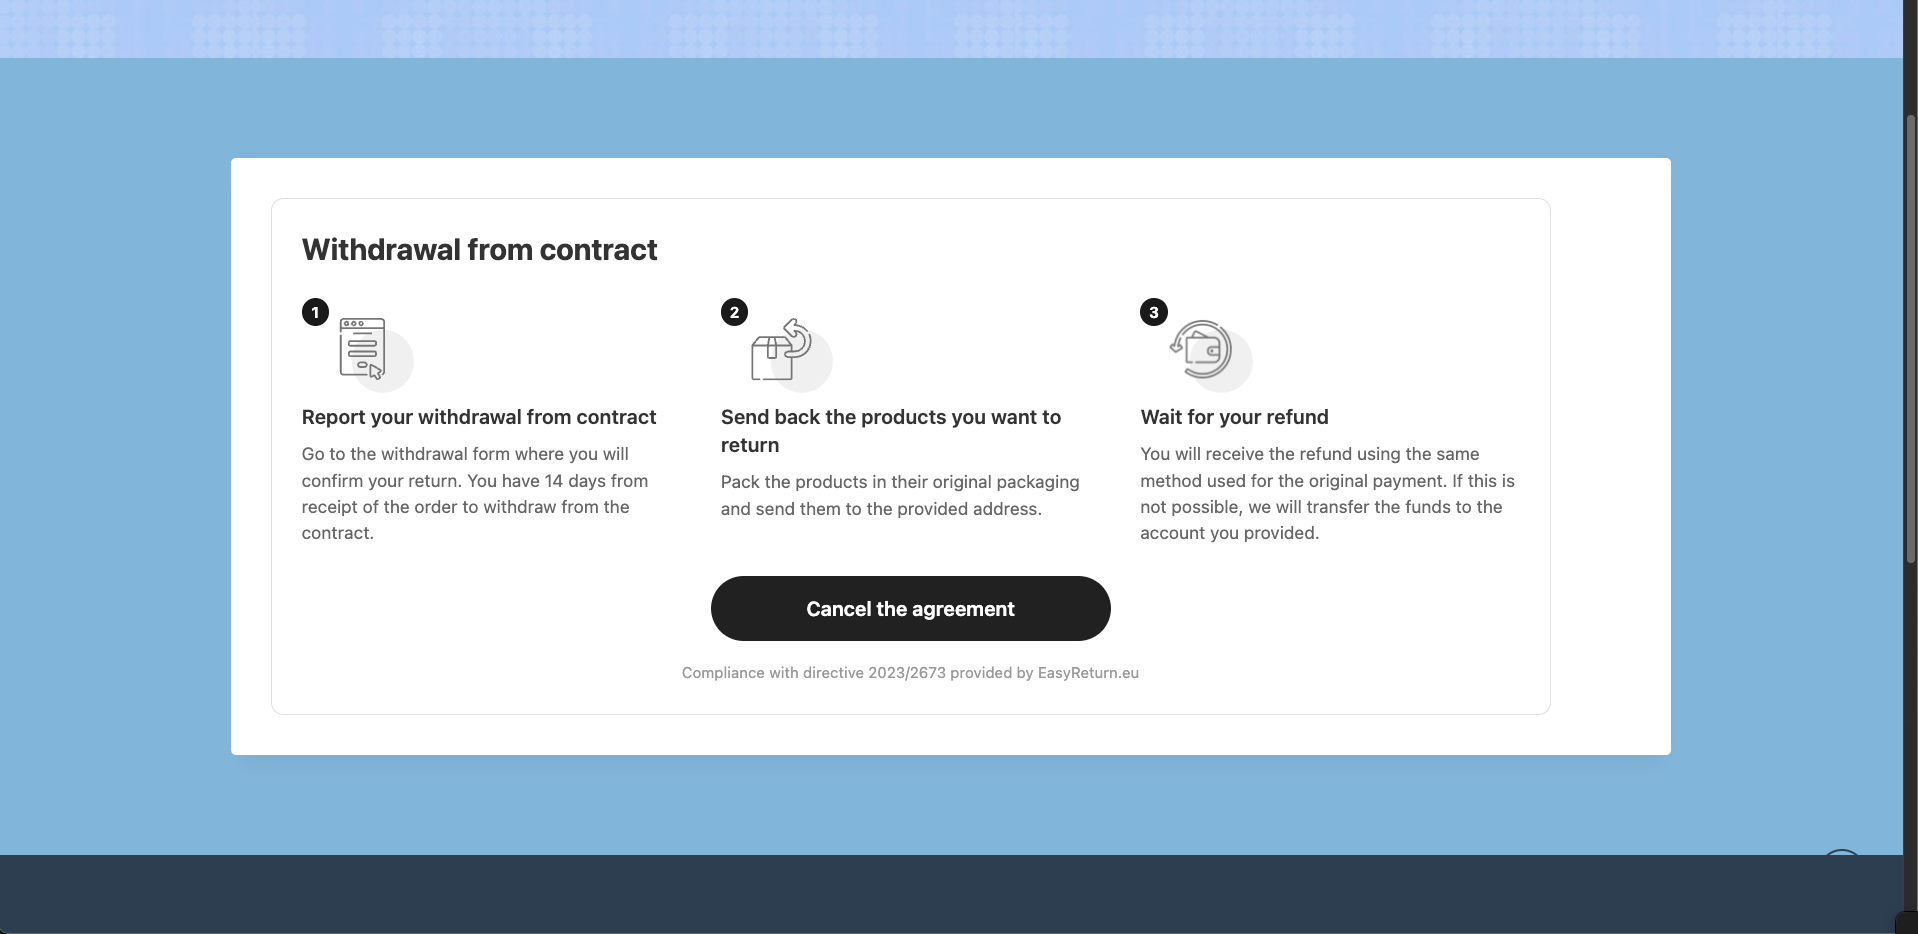
Not logged inOpen the return form
Guests can use the footer button on any page, or the Easy Return widget placed on the Returns or Terms & Conditions page. The widget explains the process in three steps and includes a 'Cancel the agreement' button.
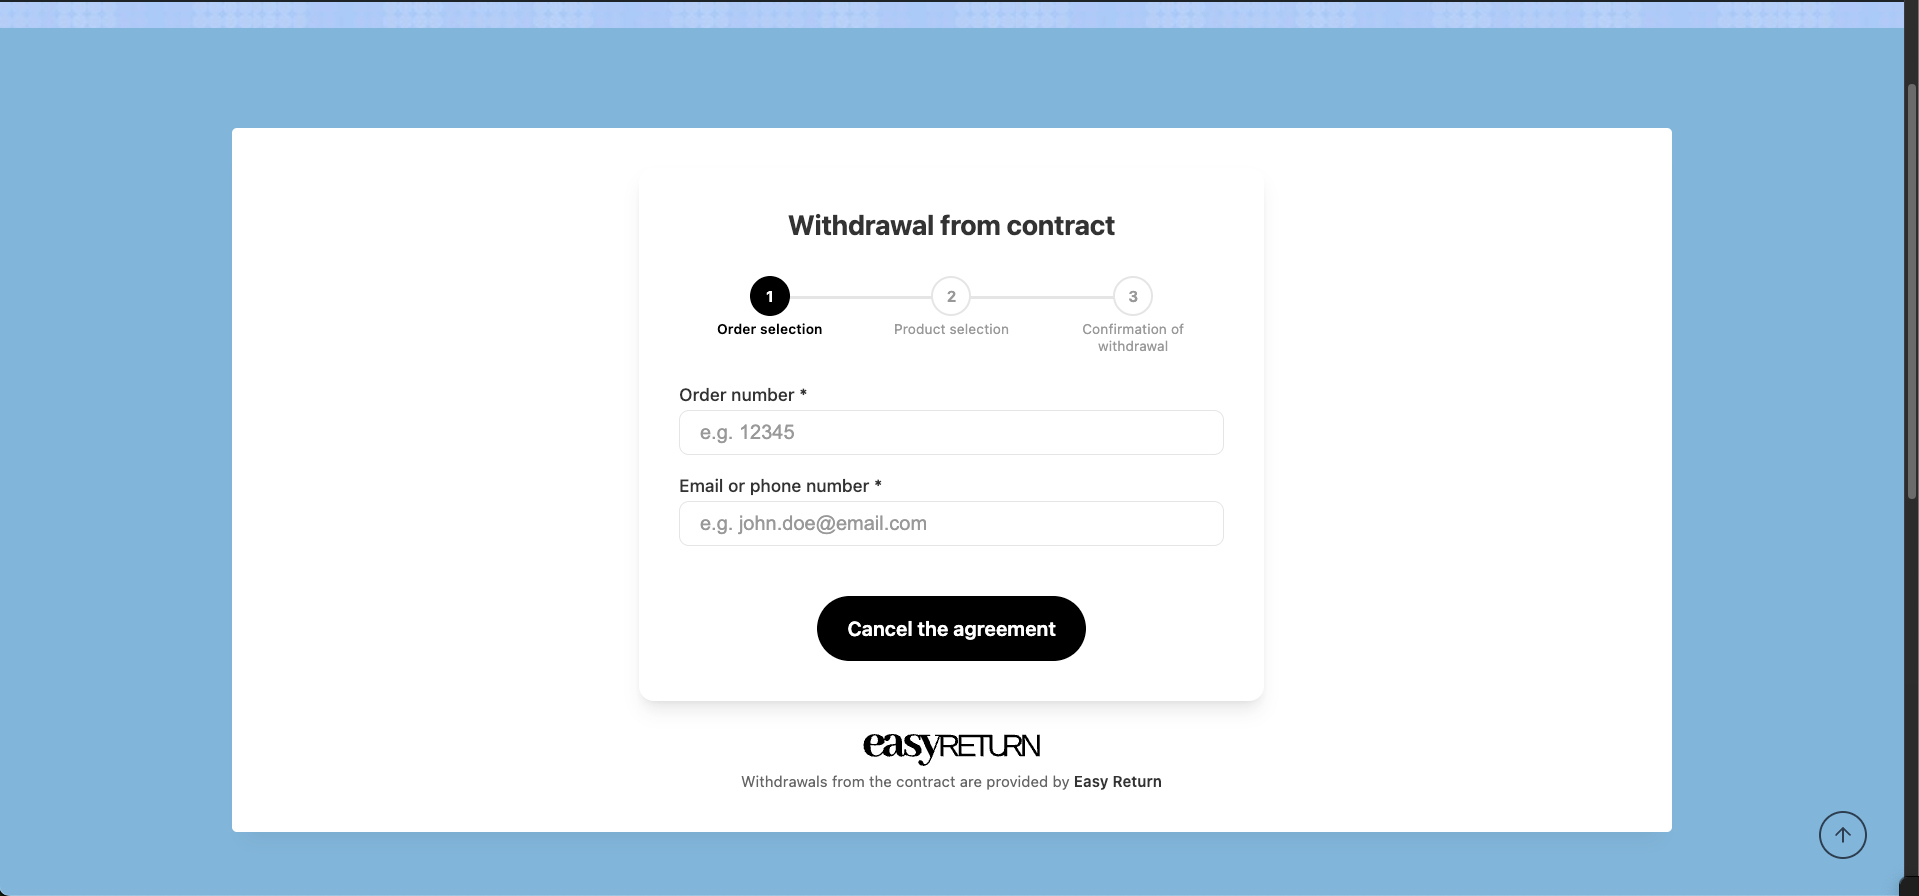
Enter your order number and contact details
The guest enters their order number and the email or phone number used at checkout. EasyReturn uses these to locate and verify the order.
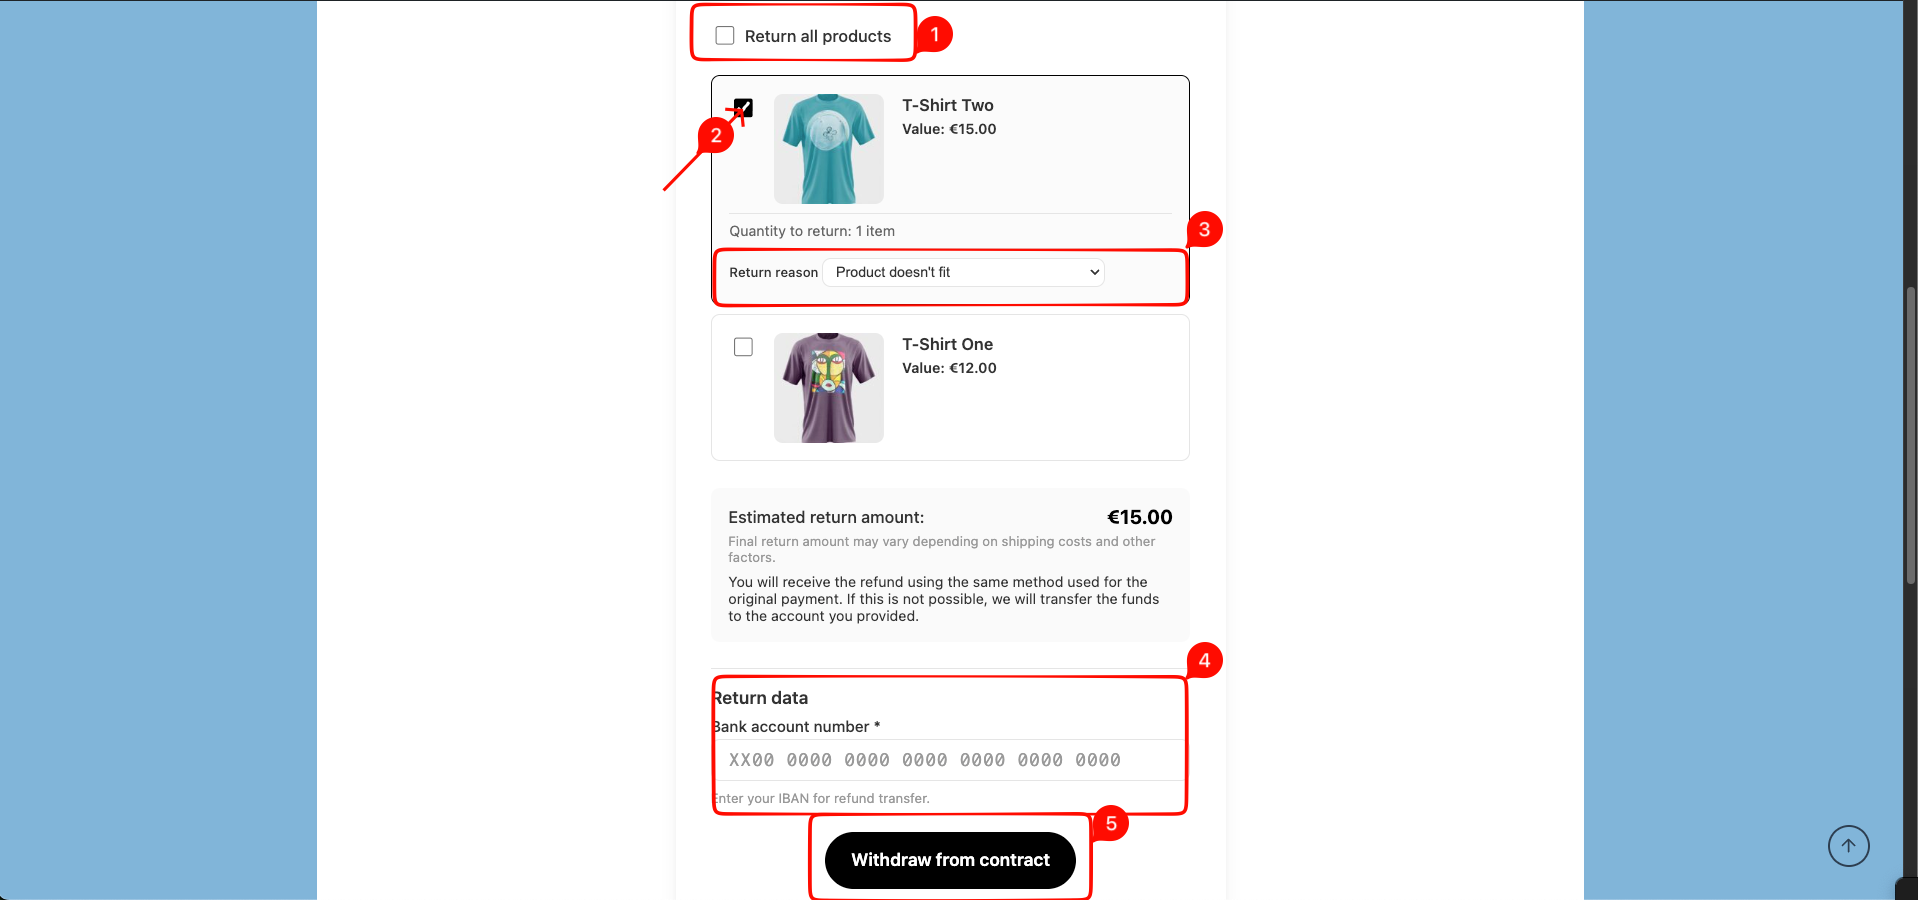
Select products to return
After the order is verified, the customer selects the products to return and picks a reason for each item. The estimated return amount is calculated in real time. If required, they enter their IBAN for the refund transfer.
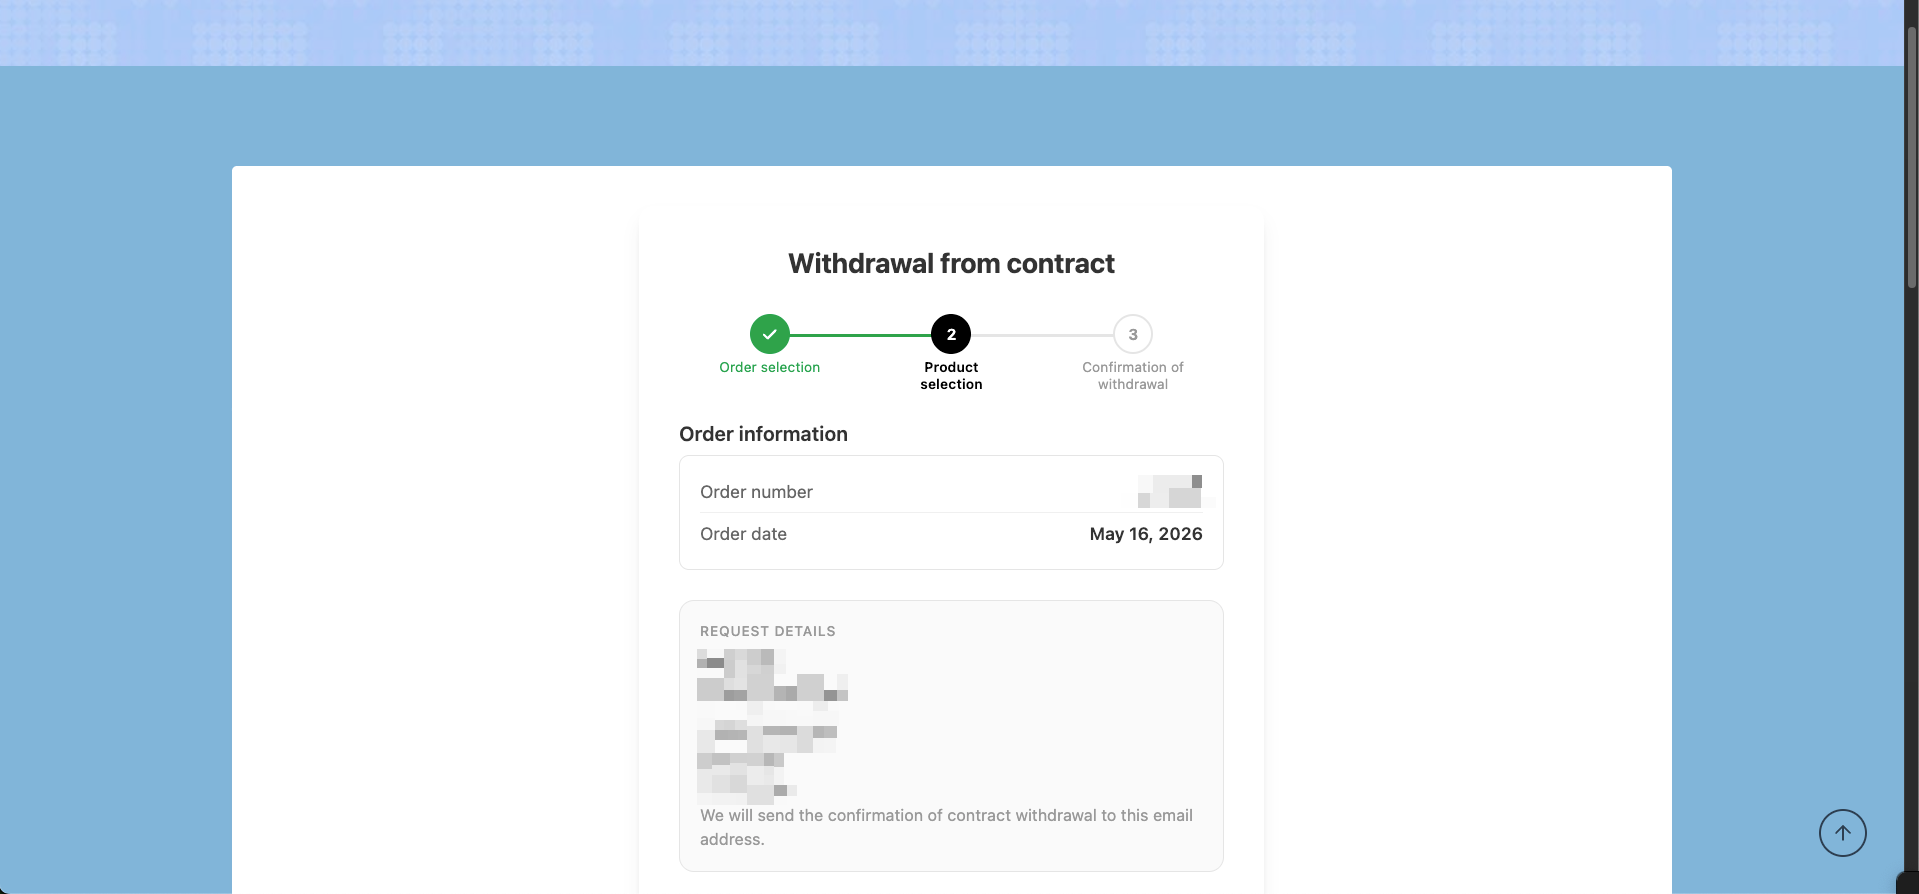
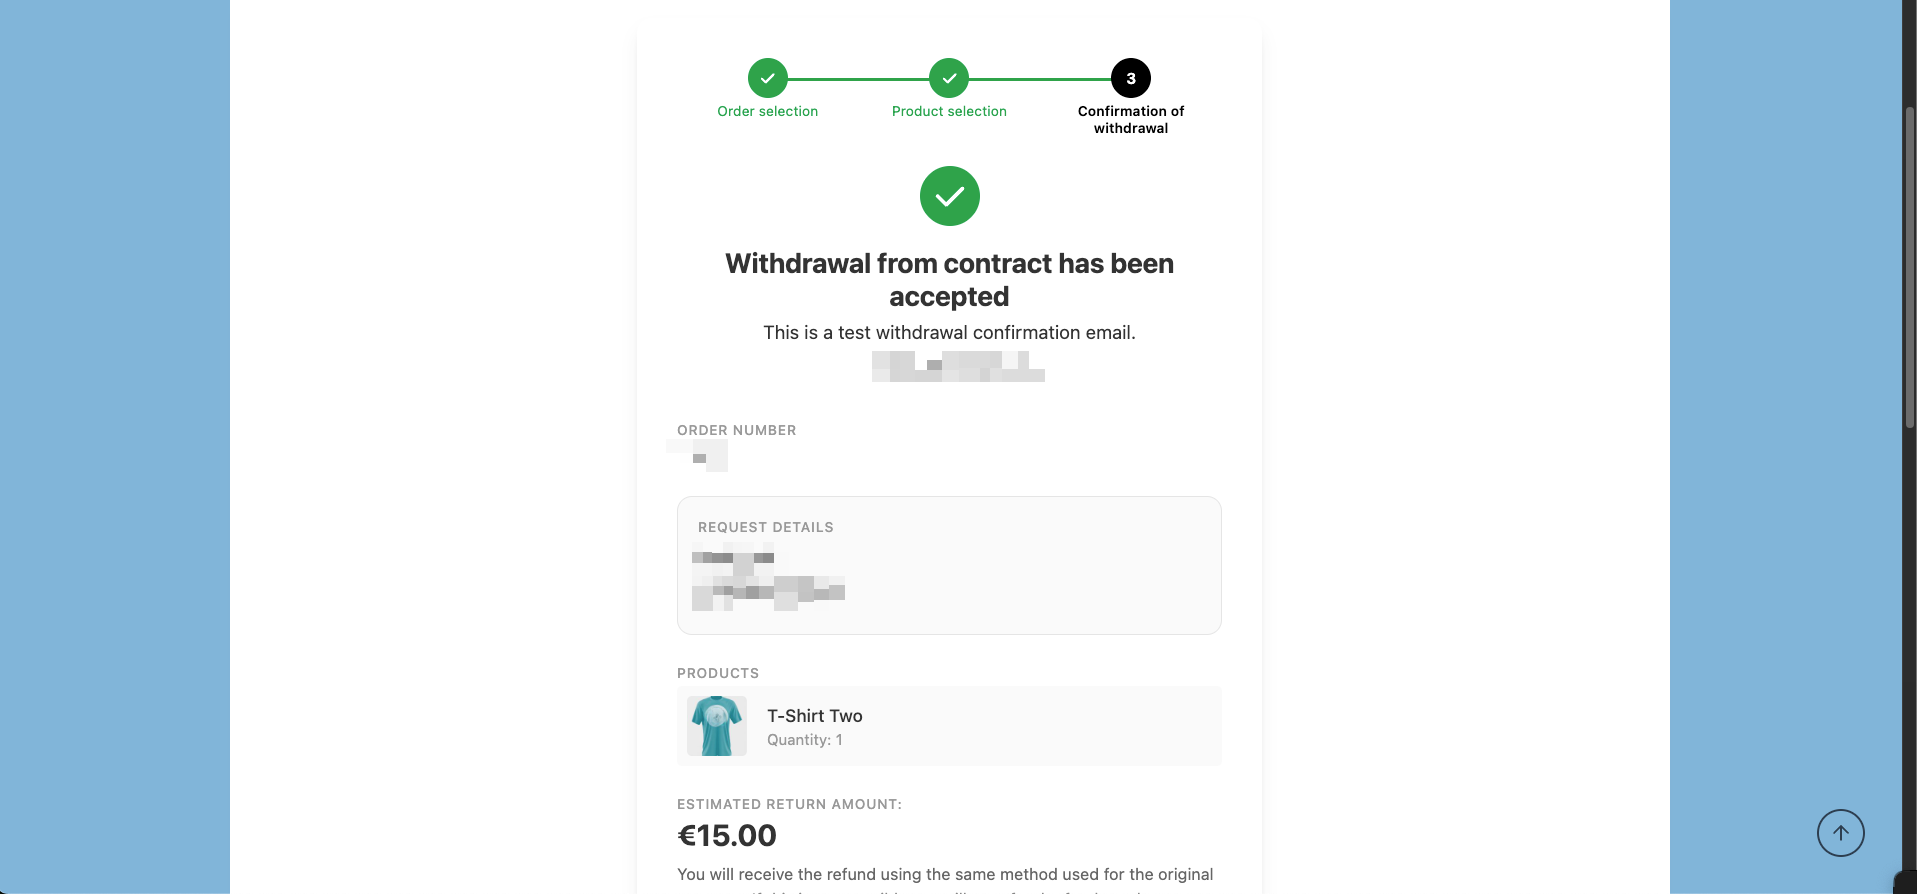
Confirm and submit
The form shows a summary with the returned products and estimated return amount. After confirming, the request is submitted and a confirmation email is sent to the address provided in step 2.
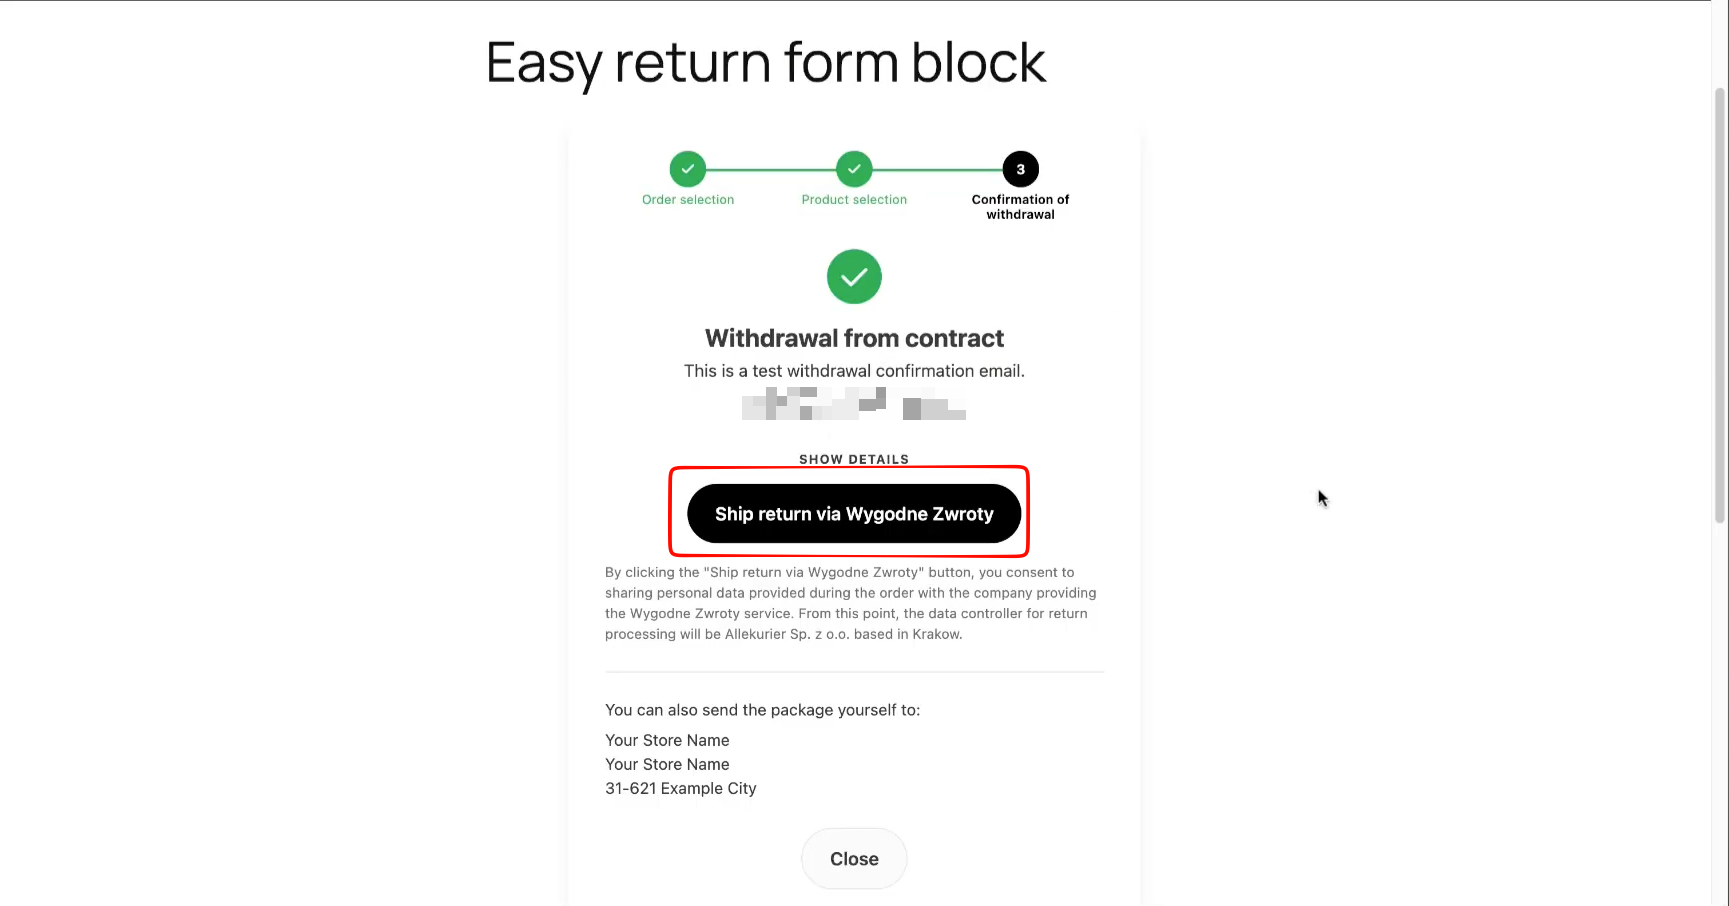
Create a return shipment (optional)
If carrier integration is enabled in the store settings, a 'Ship return via Wygodne Zwroty' button appears on the confirmation screen. The customer can create a return shipment instantly without leaving the page. Alternatively, the store's return address is shown for customers who prefer to ship the package themselves.
Admin flow
Enable carrier integration (optional)
Go to Easy Return - Settings - Return Settings and enable 'Enable carrier integration to create return shipments'. Once activated for your country, customers will see the shipment button on the confirmation screen.

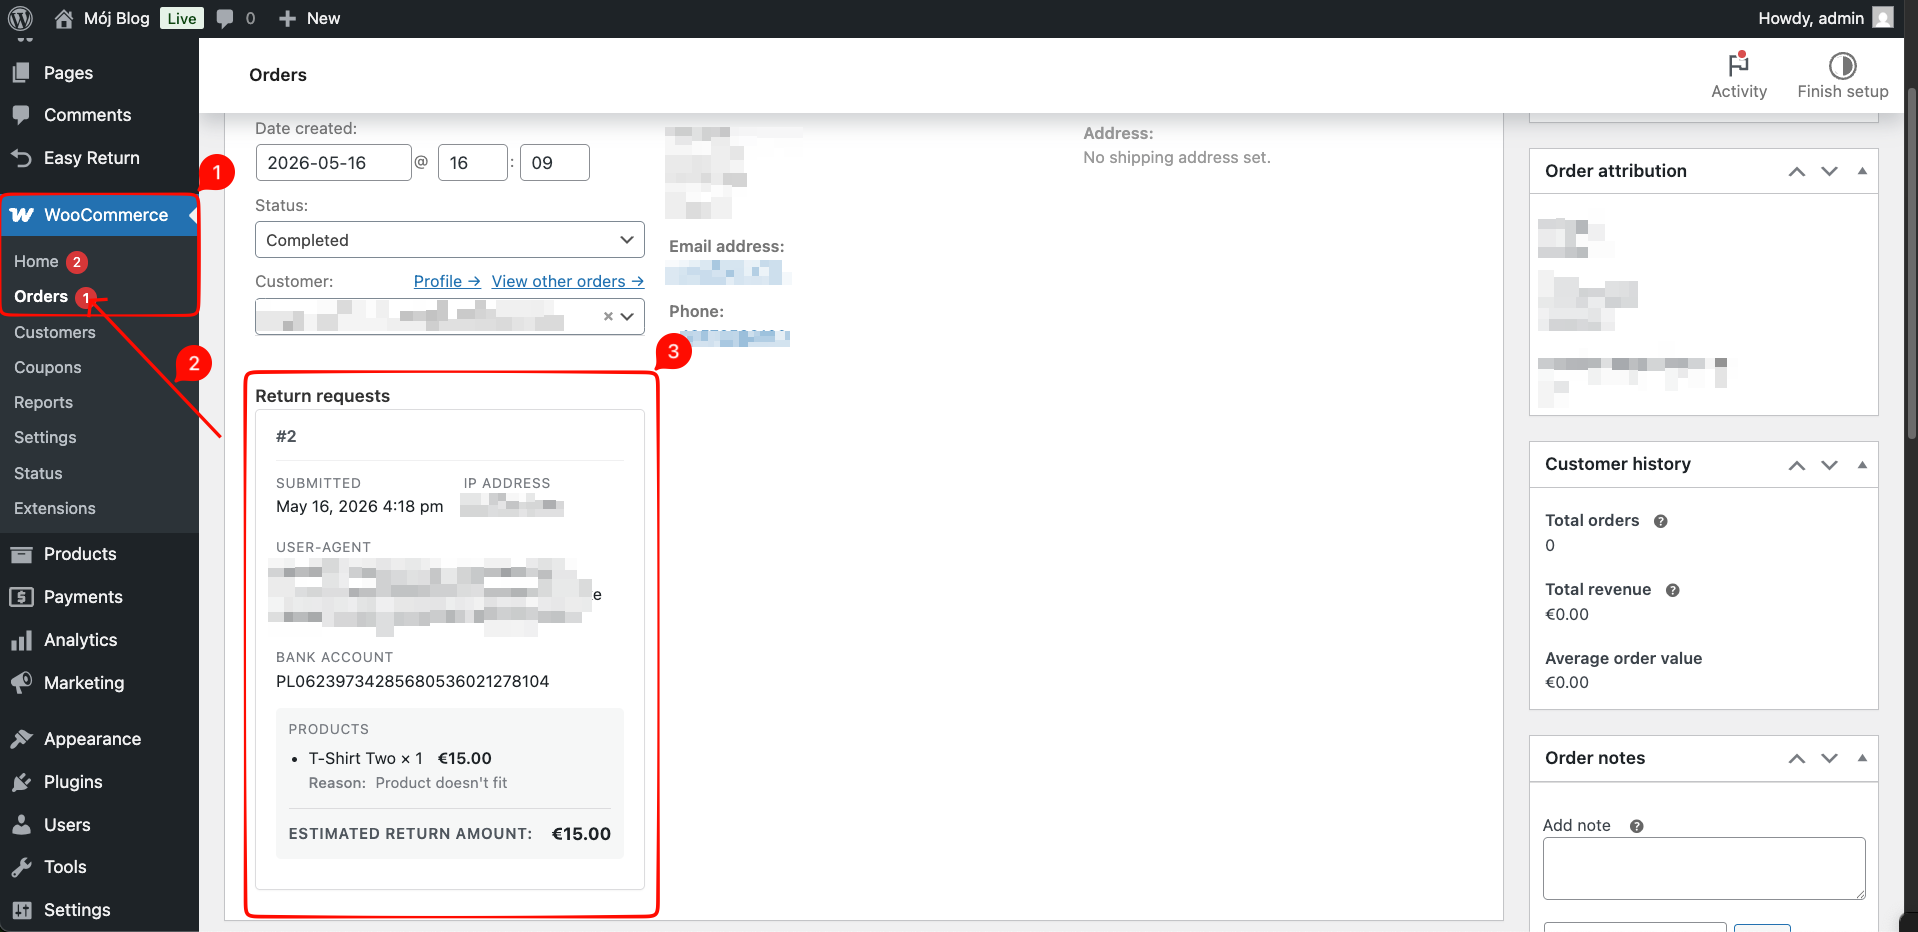
Review return requests inside WooCommerce orders
Each submitted request appears in a 'Return requests' section directly on the WooCommerce order page. The admin can see the submission date, bank account number, returned products with reasons, and the estimated return amount.
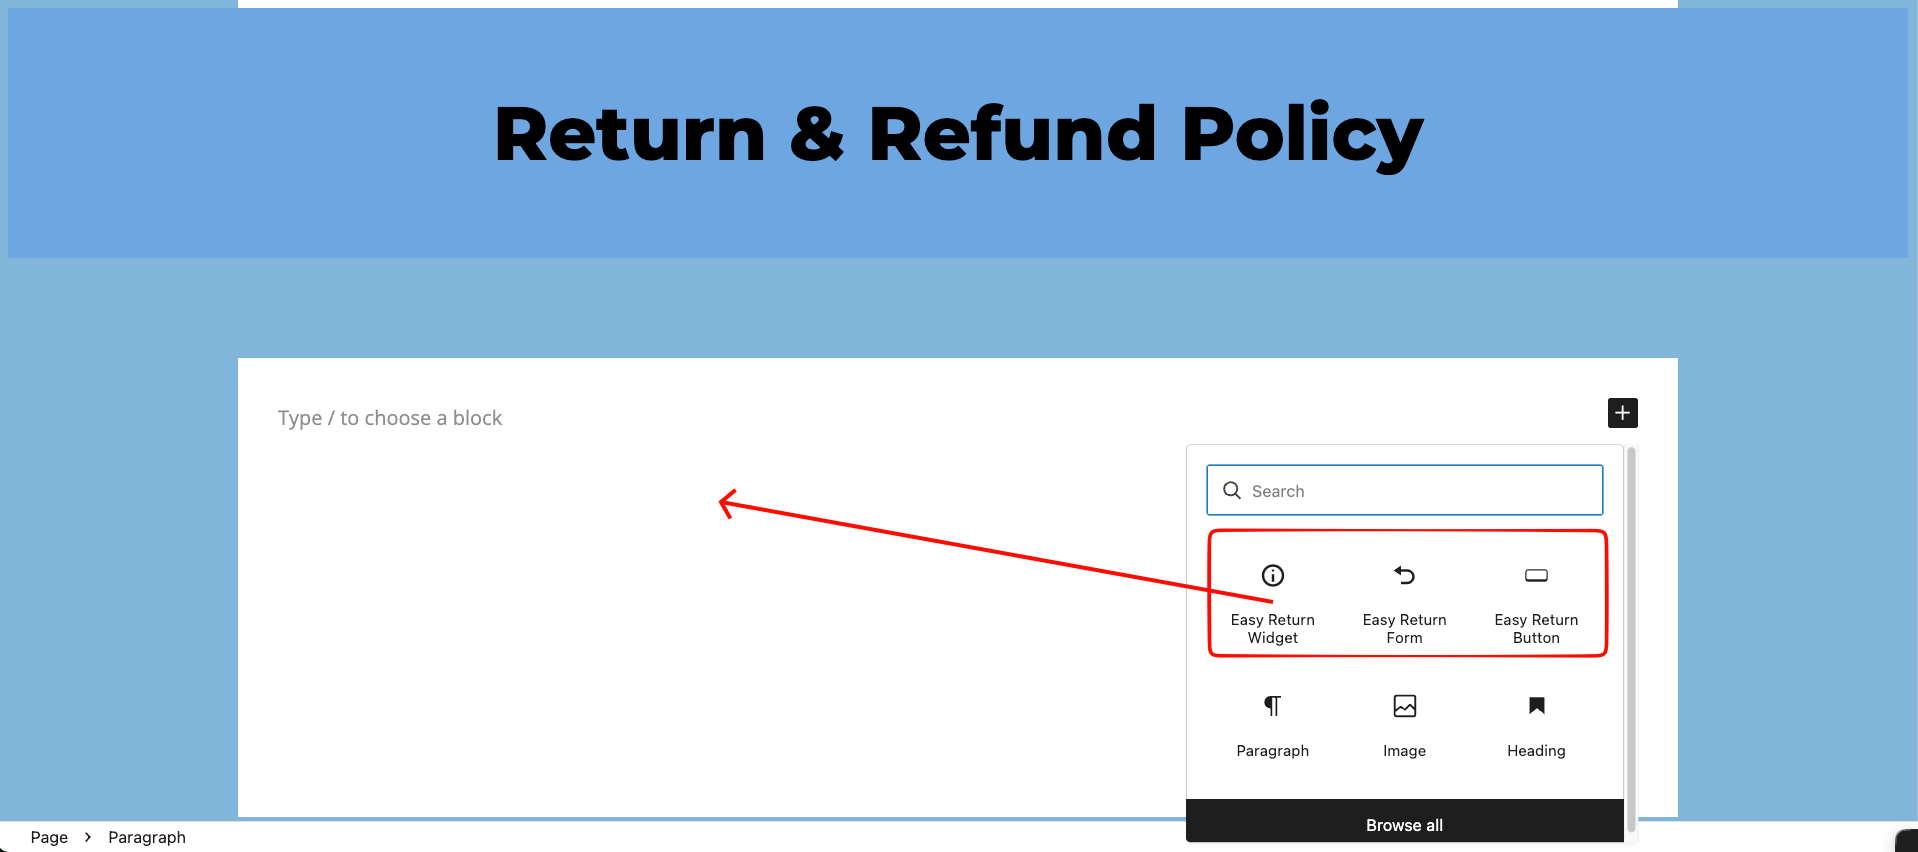
Add Easy Return elements to any page
Three Gutenberg blocks are available when editing any page: Easy Return Widget, Easy Return Form, and Easy Return Button. Type /easy in the editor to find them quickly.
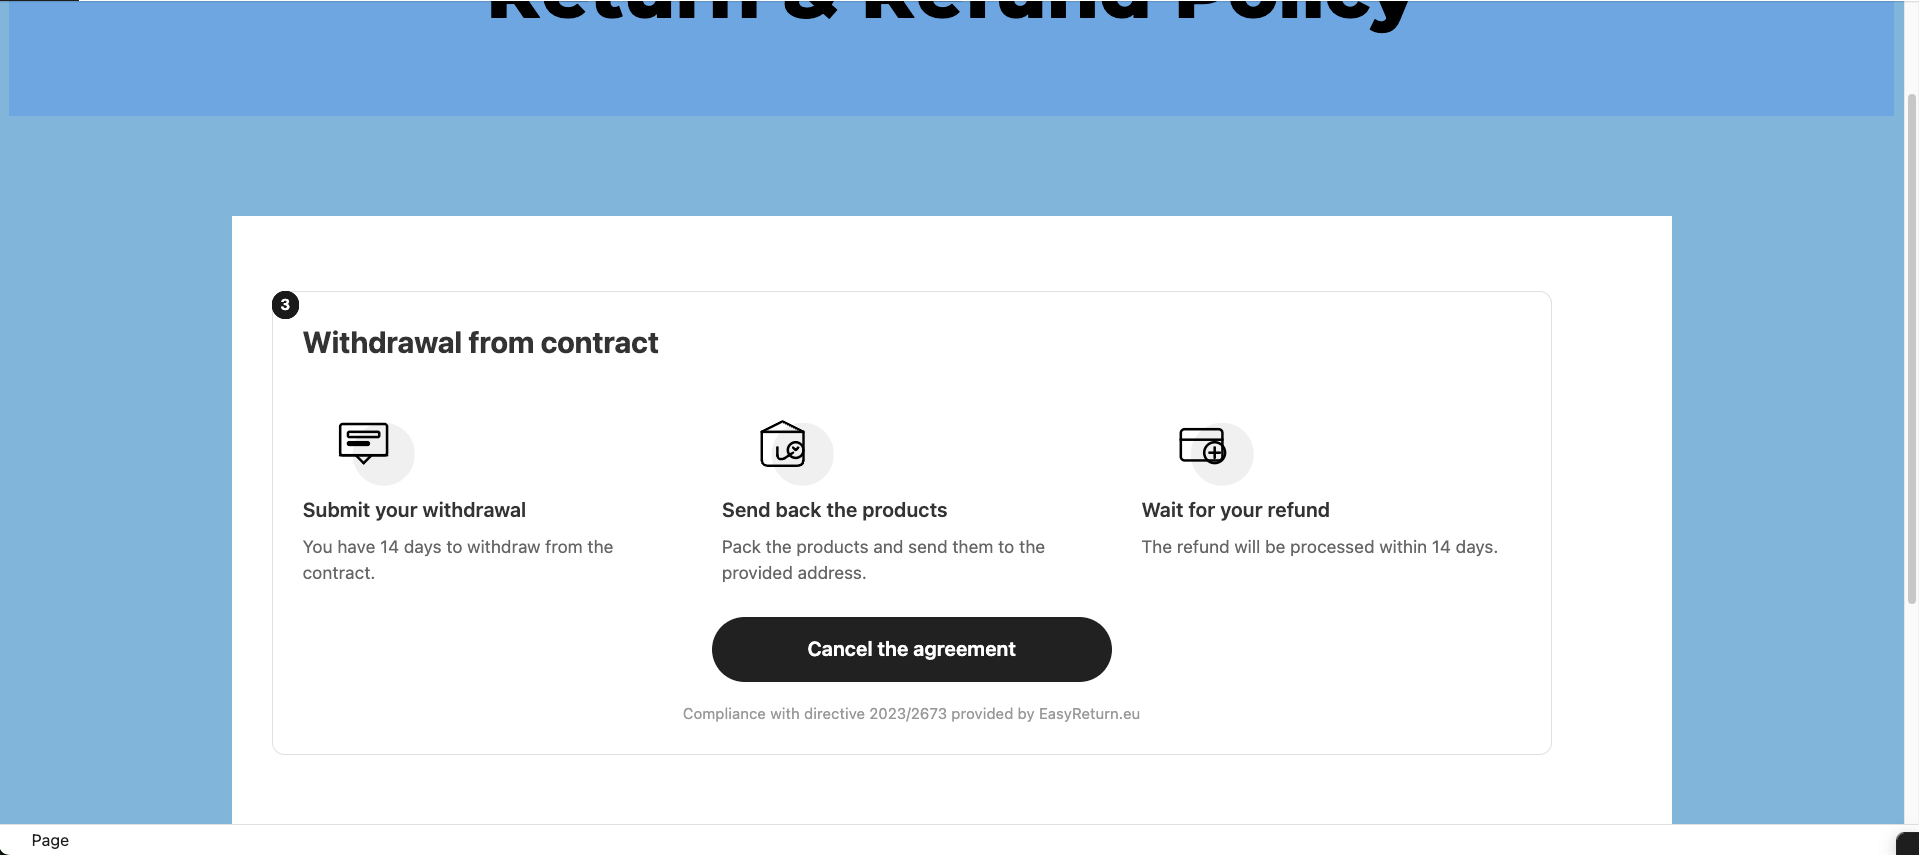
Widget on the storefront
The widget renders a clean 3-step panel explaining the return process and a button linking to the return form. Recommended on Returns, Terms & Conditions, and FAQ pages to reduce support inquiries.
Data flow
Stored locally
All return requests are saved directly in your WordPress database. No data leaves your server unless you have configured an external integration.
Email delivery
Confirmation emails are sent via WordPress's built-in mail system (wp_mail). Use an SMTP plugin for reliable delivery in production.